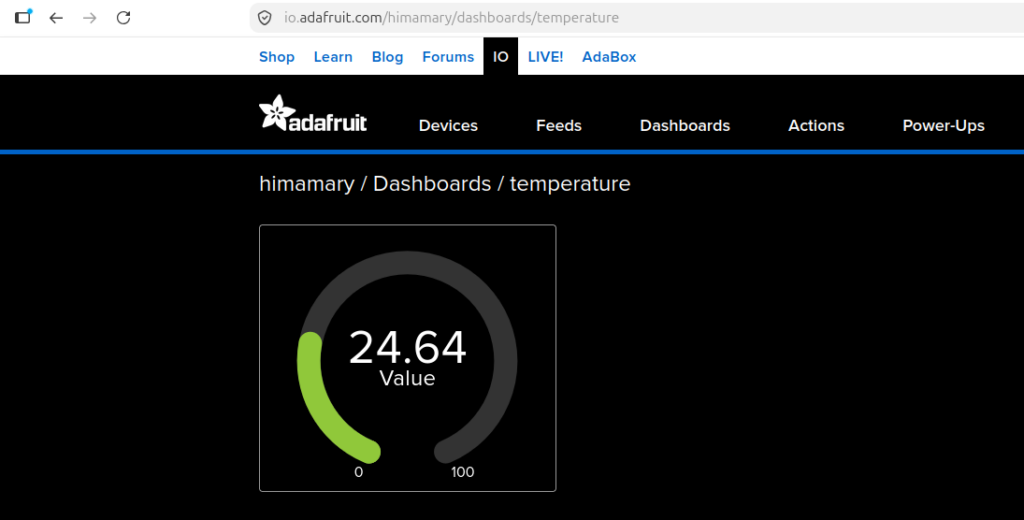
In this tutorial, we are going to connect the ARIES IoT v2.0 Board to the Adafruit IoT cloud platform using the onboard Wi-Fi NINA module. The onboard thermistor sensor continuously measures the ambient temperature, and the ARIES board uploads the temperature data to an Adafruit IO feed. The sensor readings can be monitored in real time through widgets on an Adafruit IO dashboard, enabling cloud-based temperature monitoring and IoT data logging applications.
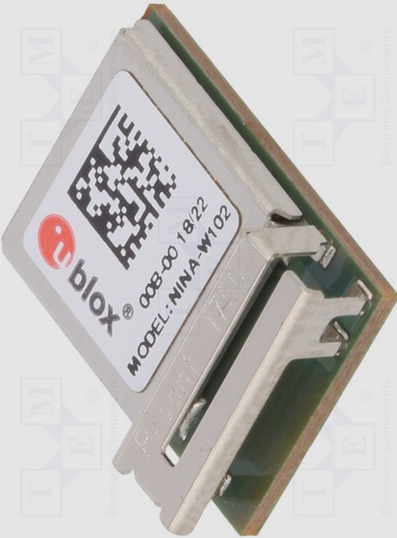
Aries IoT v2.0 Board
The ARIES IoT is a fully indigenous and a “Made in India” product to get started with basic microprocessor programming and embedded systems. This board is built upon a RISC-V ISA compliant VEGA Processor with easy-to-use hardware and software. For more details about ARIES IoT boards please refer to the ARIES development boards and Ecosystem.
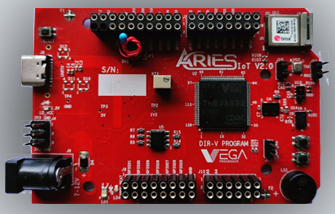
WiFi NINA
The Wi-Fi NINA module on the ARIES IoT v2.0 Board provides reliable wireless connectivity, enabling the board to connect to Wi-Fi networks and communicate with cloud platforms, web servers, and IoT services. Based on the u-blox NINA series wireless module, it supports secure internet communication and simplifies the development of IoT applications such as remote monitoring, sensor data logging, and device control.The module interfaces with the ARIES processor through SPI, allowing seamless integration of wireless networking features into embedded projects.
Prerequisites
- Windows 10 or above/Ubuntu 20.04 LTS or above
- Arduino IDE
- VEGA ARIES Board support package
Components Required
- ARIES IoT v2.0 Board
- USB type C Cable
Circuit Diagram
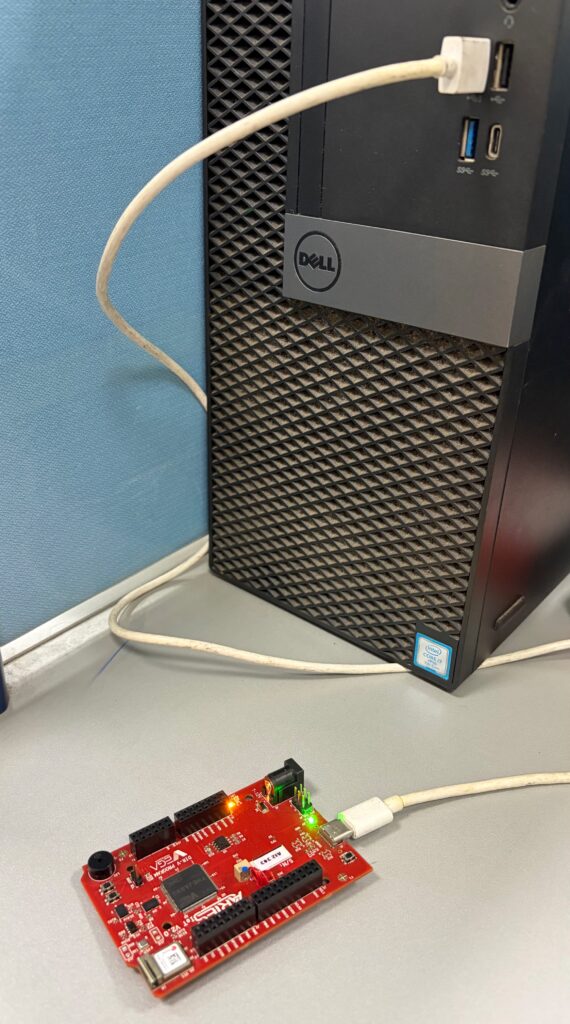
No external connections required to test this code. You can directly connect Aries IoT board through USB and upload the program.
Libraries
Arduino libraries are an extension of the standard Arduino API and consists of thousands of libraries, both official and contributed by the community. Libraries simplifies the use of complex codes. Every version of Arduino IDE has a library manager for installing Arduino software libraries. The libraries required for this projects are
- VEGA_WiFiNINA (Version 1.0.1)
- ArduinoJson (Version 7.4.3)
To install the libraries directly from library manager required for this project:
Go to Tools -> Manage Libraries -> and search with the library names mentioned above
Click on Install
Procedure
ADAFRUIT IO SETUP
We have to configure the Adafruit IO cloud server before uploading the program to ARIES microcontroller.
Follow the below steps for configuring Adafruit IoT cloud platform
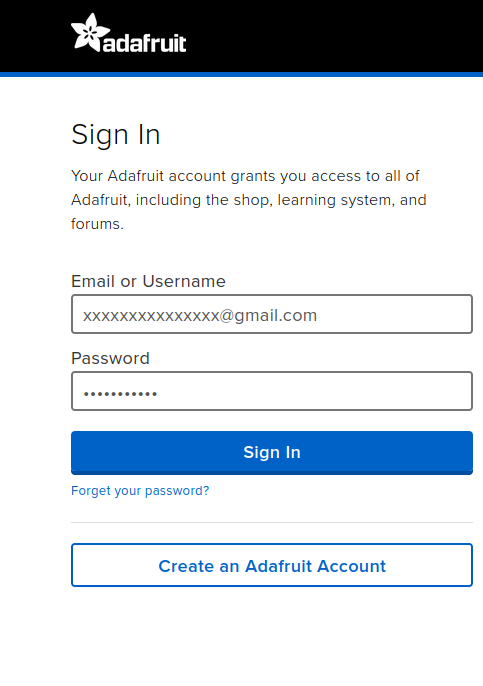
- SIGN UP on Adafruit from Adafruit IO if you doesn’t have an account. If you have Adafruit account use SIGN IN option and login with your credentials.
Click on Feeds menu

Once the feed menu is opened, Click on New feed
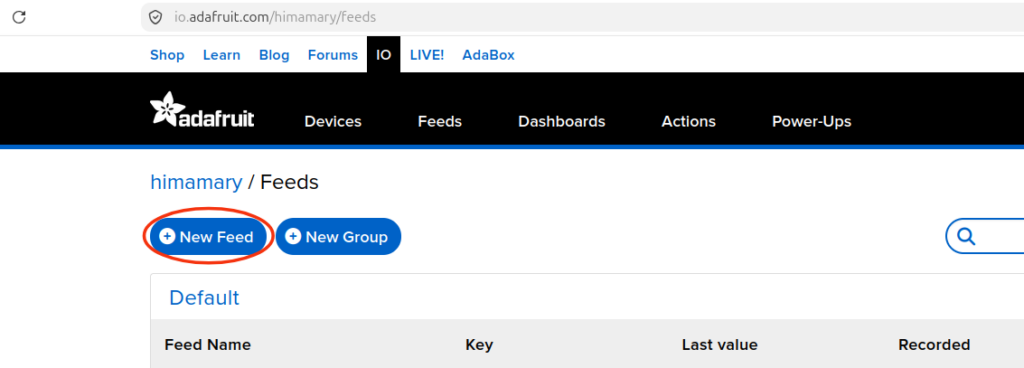
Create a new feed by giving any feed name. Here we have used “temperature” as the feed name. You can give any feed name and Click on Create
Click the feeds button,select create a new group
Enter the name of the group and a description and click the create button. (example group Name = group)
Click on the group you just created, when the new page opens, click on the action button again and select “Create a new feed”. (Example feed name -> temperature)
select “new dashboard” for creating the dashboard (Example dashboard name -> temperature)

Click on the Dashboard name you created, to open the dashboard. Once you enter inside the dashboard you created, you can see a black page as follows. Click on the New Block option.
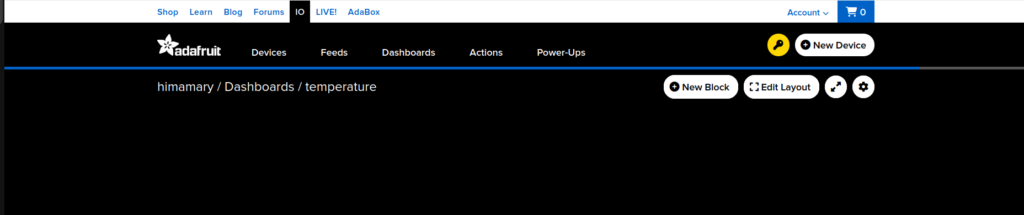
- This will open up a menu as shown in the below figure. Click on Create New Block
You can see the available blocks to display the data. Here we will be using the Gauge block to display the temperature coming from the ARIES micro-controller. You can also use line chart or text display or any other blocks based on your requirements.

In the next step, Tick Mark the checkbox to link your feed with the dashboard and click on NEXT STEP
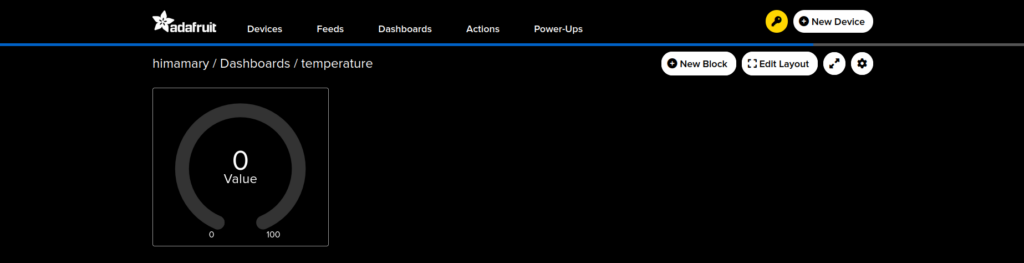
Give a block title for your selected block. Remaining fields are optional and click on Create Block.
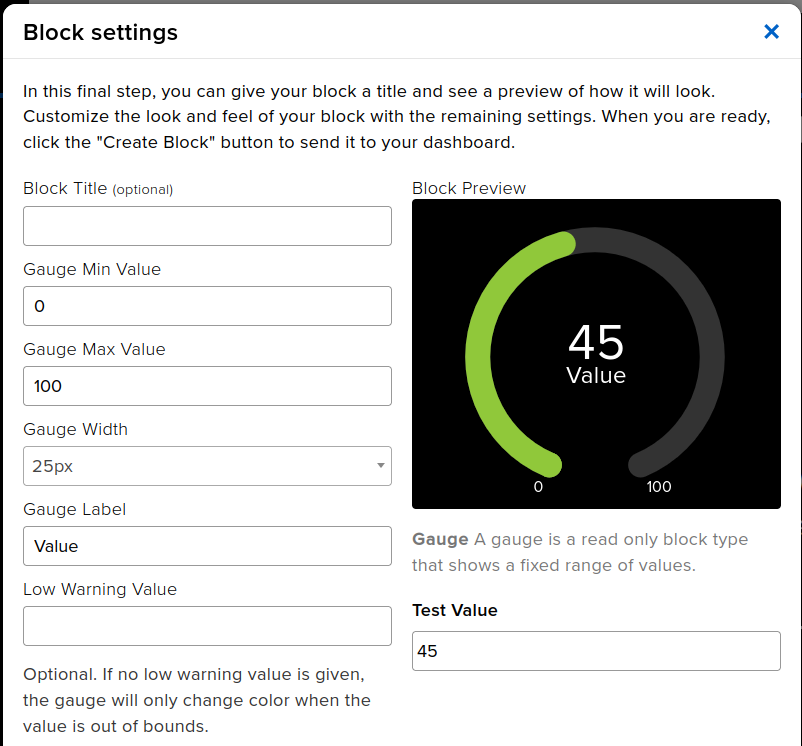
Now the block has been created. The data from the sensor will be displayed inside this block you created now.
Click on the yellow key icon to Copy the Adafruit API key (Active Key) to replace the key in the Arduino code.
Click on feed -> Feed info. Copy the MQTT key to replace in the URL portion in the Arduino code
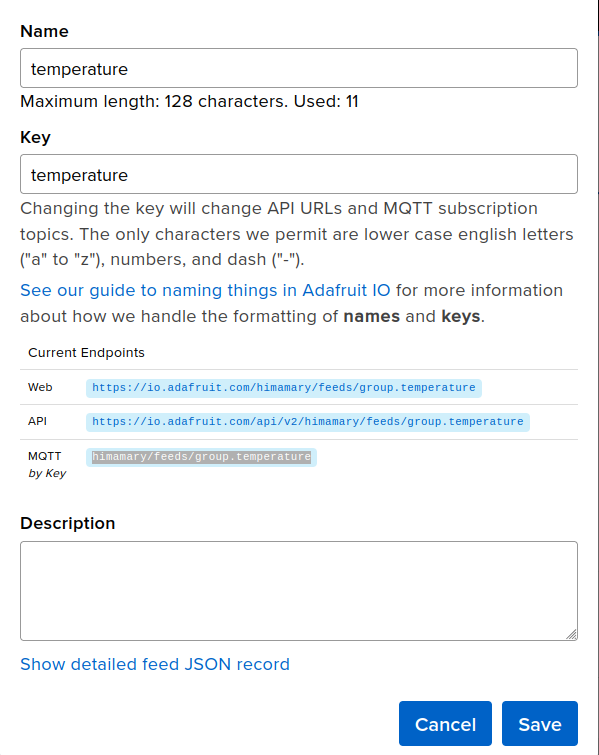
Now you need to change the Credentials in Arduino program
Setup VEGA Ecosystem
Download and install Arduino IDE 2.3.10
Once installed Open Arduino IDE
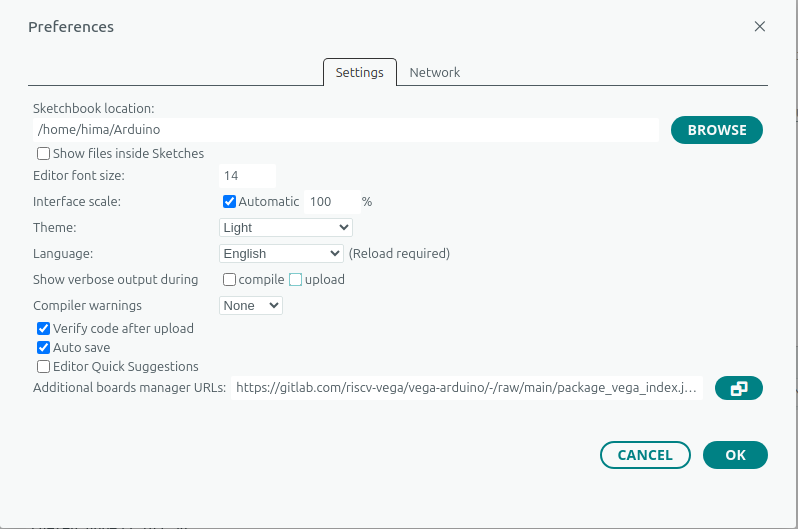
Open File->Preferences, Add below JSON in “Additional Boards Manager URL”, Press OK
https://gitlab.com/riscv-vega/vega-arduino/-/raw/main/package_vega_index.json
Open Tools->Boards->Board manager, Search for “vega”
Install “VEGA ARIES Boards” with latest version
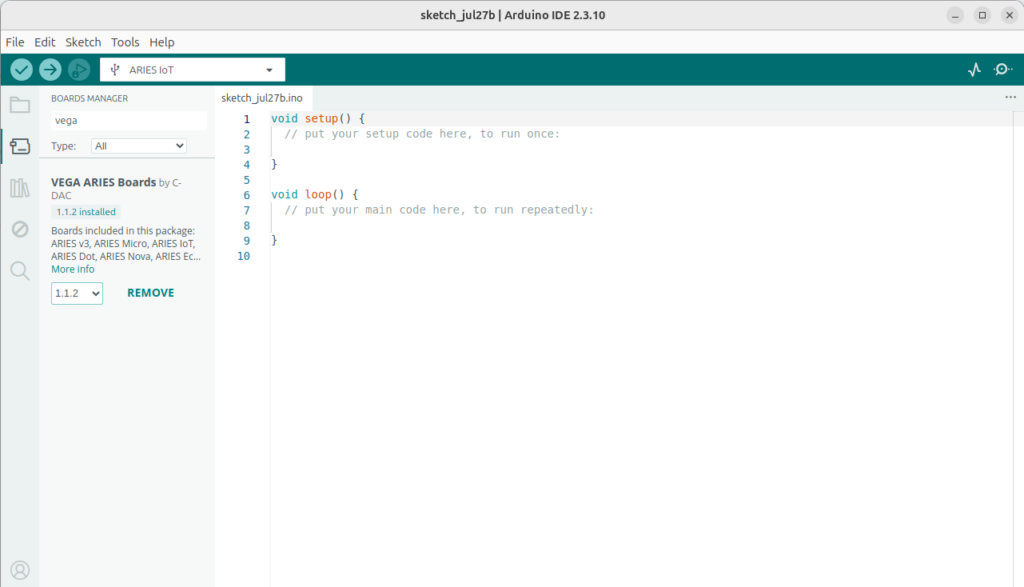
Select ARIES IoT Board from Tools -> Board -> VEGA Processor: ARIES Boards -> ARIES IoT
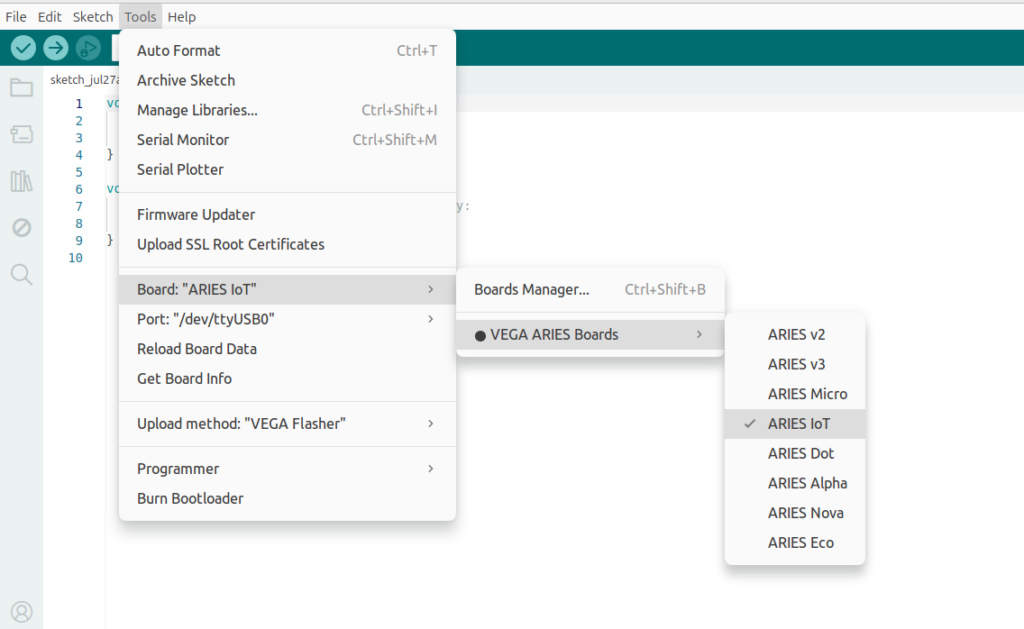
Select Programmer as VEGA FLASHER from Tools -> Upload Method -> VEGA Flasher
Also select appropriate port from Tools -> Port -> COM* (ARIES Board) for windows and dev/tty/USB*(Aries Board) for ubuntu
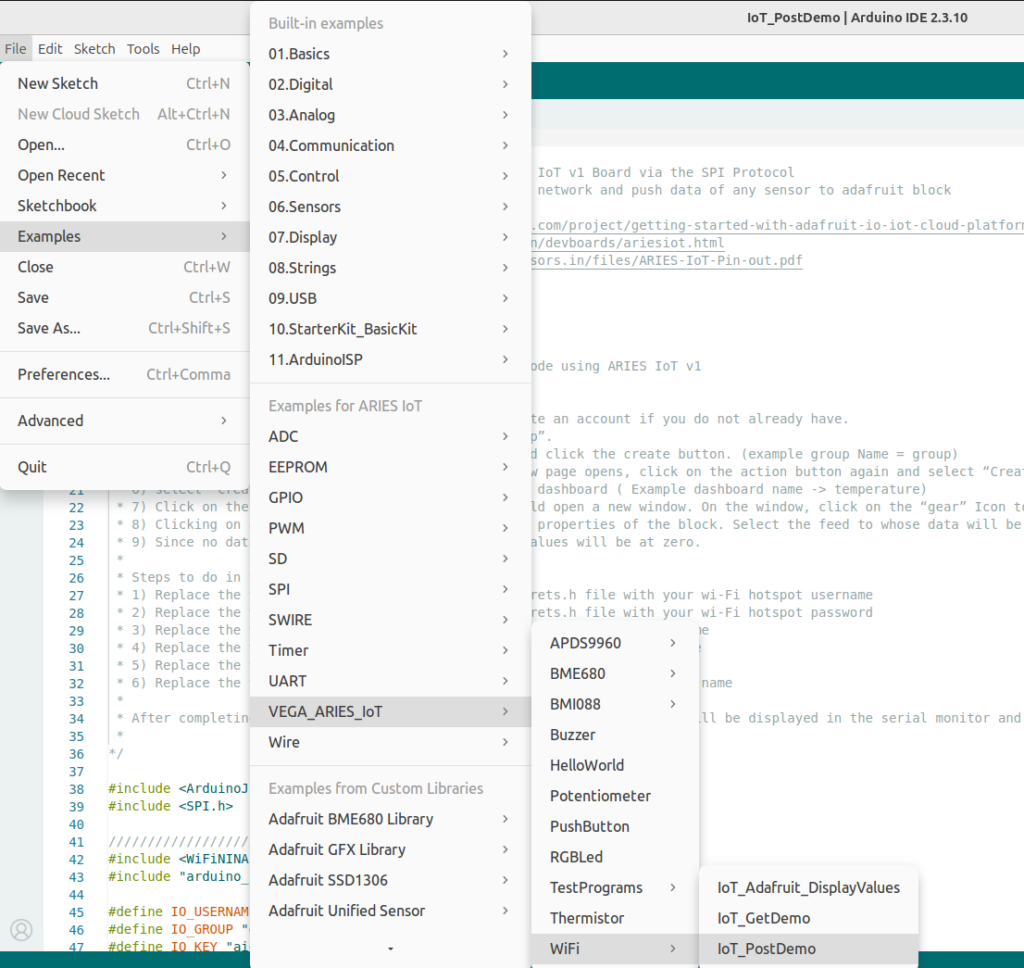
Now, Open Files -> Examples -Under Examples for ARIES IoT -> VEGA_ARIES_IoT -> WiFi-> IoT_PostDemo
Change the credentials on the code as shown in the image
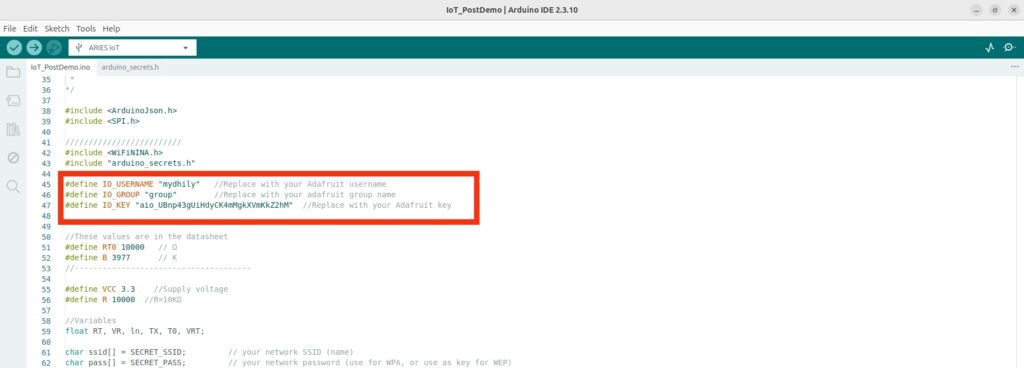
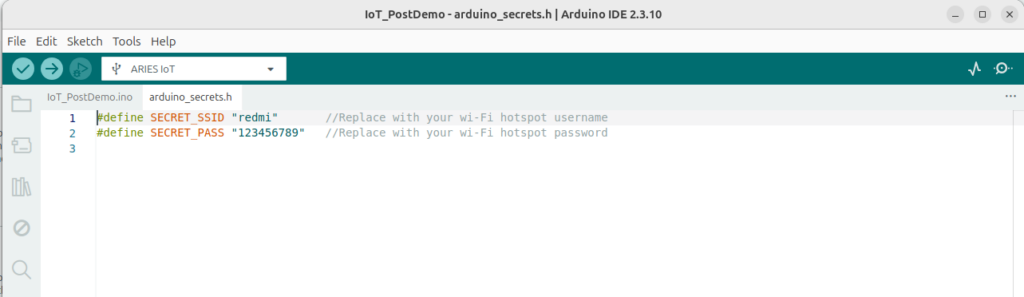
Once the hotspot name, hotspot password, KEY and URL has been replaced with your’s, the procedure is completed.
Finally Upload the code to ARIES IoT board
Output
You can open the dashboard you created in Adafruit to view the real-time temperature data being received and displayed on the Adafruit cloud server. In the example program provided, the onboard temperature sensor readings are continuously sent to the Adafruit cloud platform through the Wi-Fi connection. As the temperature changes, the corresponding values will be updated and displayed on the Adafruit dashboard in real time.