In this tutorial we will see how we can use the Timers on the ARIES v3.0 board. A timer is an electronic counter capable of counting time very accurately.
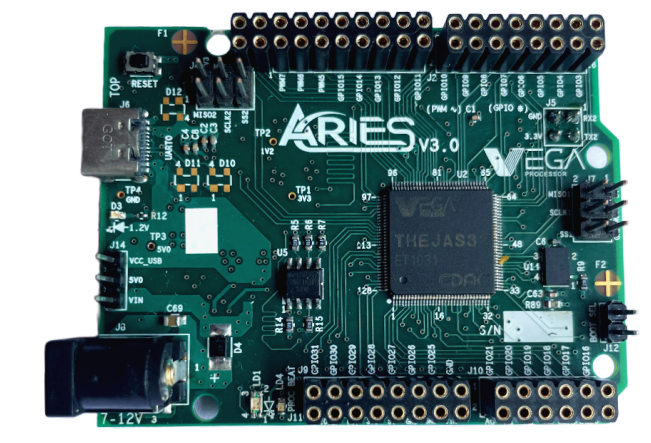
ARIES v3.0
The ARIES v3.0 is a fully indigenous and a “Made in India” product to get started with basic microprocessor programming and embedded systems. This board is built upon a RISC-V ISA compliant VEGA Processor with easy-to-use hardware and software. For more details about ARIES v3.0 boards please refer to the ARIES development boards and Ecosystem.
Timer Interrupts in ARIES v3
ARIES micro-controllers have three 32 bit timers called Timer0, Timer1, and Timer2. Each of the timers has a counter that is decremented on each tick of the timer’s clock. The timer and it’s corresponding interrupt number is given in the below table.
| Peripheral | Interrupt Number |
| Timer-0 | 7 |
| Timer-1 | 8 |
| Timer-2 | 9 |
Prerequisites
- Windows 10 or above/Linux (64 bit)
- Arduino IDE
- VEGA ARIES Board support package
Components Required
- ARIES v3.0 Board
- USB type C to USB type A cable
Procedure
Let’s power up the ARIES v3 board via the USB port of a Laptop/Desktop/PC and burning the code into the ARIES v3 board, we have to use a USB type C to USB type A cable. The cable should be connected to UART-0 port of the ARIES v3 board, and the Laptop/Desktop/PC should be preinstalled with Arduino IDE and VEGA ARIES boards of latest version.
- Now, open the Arduino IDE
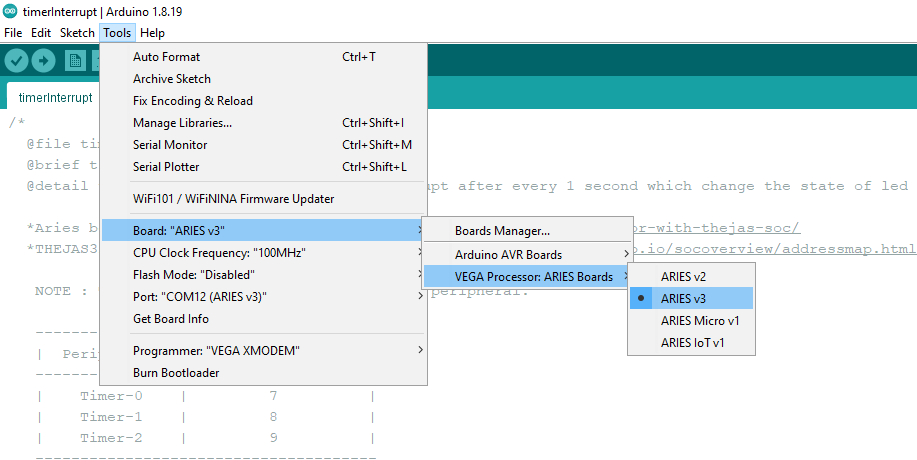
- Make sure you have selected ARIES v3 Board from Tools -> Board -> VEGA Processor: ARIES Boards -> ARIES v3
- Select Programmer as VEGA XMODEM from Tools -> Programmer -> VEGA XMODEM
- Also select appropriate port, Tools -> Port -> COM* (ARIES v3)
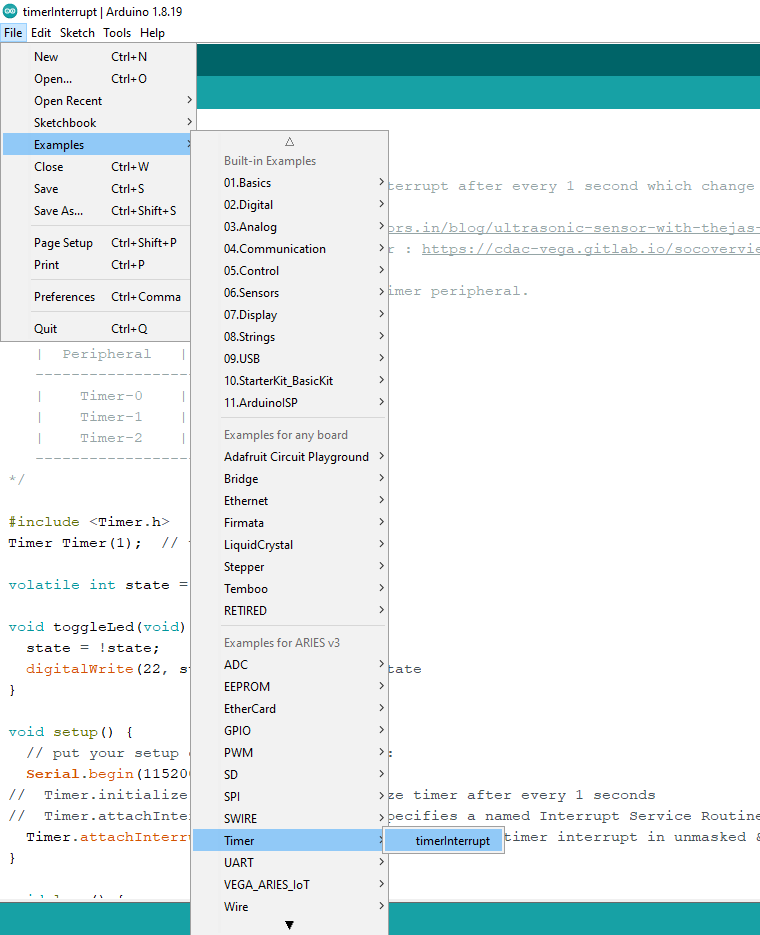
Now, Open Files -> Examples -> Under Examples for ARIES v3 -> Timer -> timerInterrupt
Finally Upload the code in ARIES v2 board.
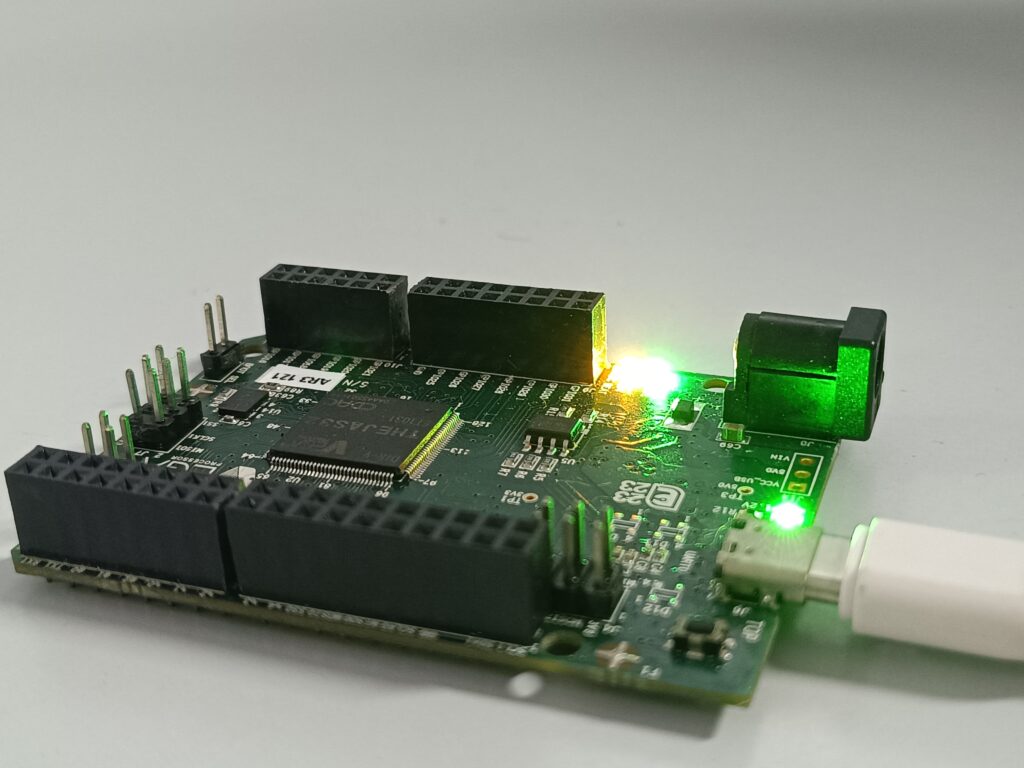
Output
Once the code is uploaded, timer interrupt will generate interrupt after every 1 second which change the state of led. You can see the Green LED changing state every 1 second