In this tutorial, we are going to interface the FC-51 infrared sensor with the ARIES v2 board. FC 51 infrared sensor module is used to detect, if something is passing by or an obstacle is nearby, like in an obstacle avoidance robot. This module is very easy to use, it sends infrared waves, and if there’s an obstacle on the way then it reflects back, hence the object is detected.
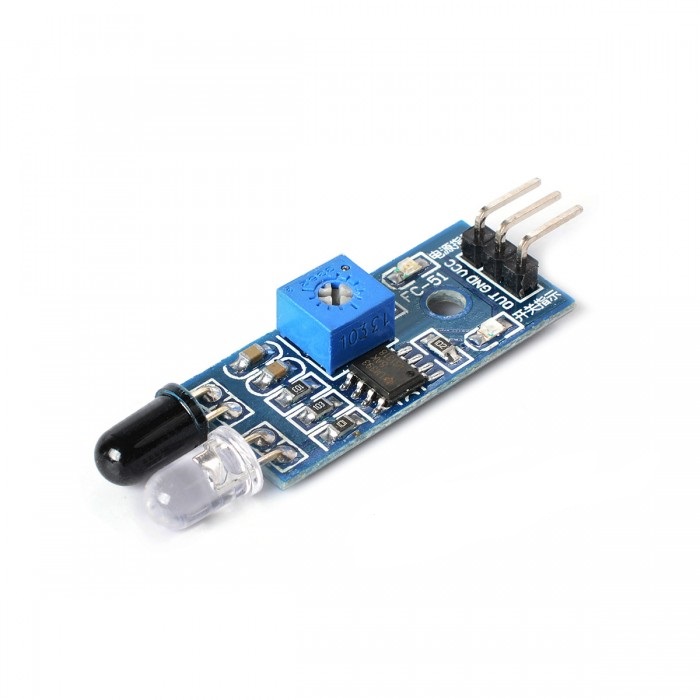
FC 51 Proximity Sensor
Infrared Obstacle Avoidance Proximity Sensors Module has a built-in IR transmitter and IR receiver that sends out IR energy and looks for reflected IR energy to detect the presence of any obstacle in front of the sensor module. The module has an onboard potentiometer that lets users adjust the detection range. The sensor has a very good and stable response even in ambient light or in complete darkness.
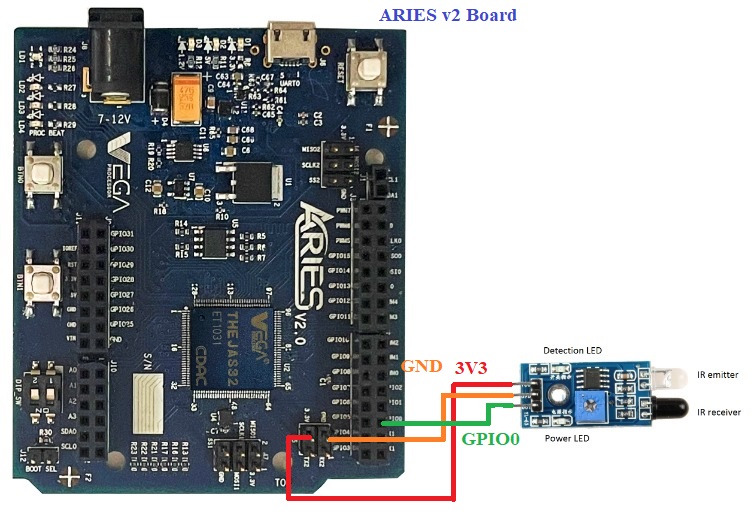
Circuit Diagram
Proximity Sensor is composed of 3 pins. Connect VCC and GND of sensor module to +3.3V and GND respectively of ARIES v2 board. Then connect Out pin of sensor module to GPIO 0 pin of ARIES v2 Board.
Now, for powering up the ARIES v2 board via USB port of a Laptop/Desktop/PC and burning the code into the ARIES v2 board, we have to use a micro USB type B to USB type A cable. The cable should be connected to UART0 port of the ARIES v2 board, and the Laptop/Desktop/PC should be preinstalled with VEGA SDK and Toolchain.
| Proximity Sensor | ARIES v2 Board |
| VCC | 3.3V |
| GND | GND |
| Signal Out | GPIO 0 |
Procedure
After setting up the toolchain and SDK path environments, build the example program for the Proximity Sensor module by:
cd vega-sdk/examples/gpio/proximity_sensor_pgmmake clean command to clean the executable :
make cleanthen use make command to build it.
makeNow, we can transfer the built program to the board, before transfer please ensure that you have connected the UART0 connector of the board to the PC.
Open a new terminal and execute the following command.
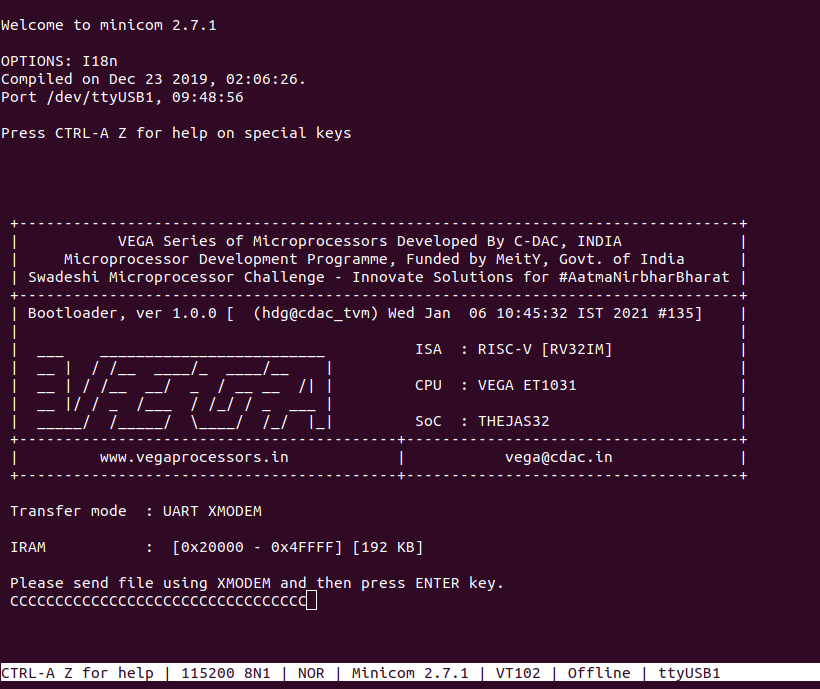
sudo minicom ariesNow you can see the minicom terminal opened and the board UART terminal is ready.
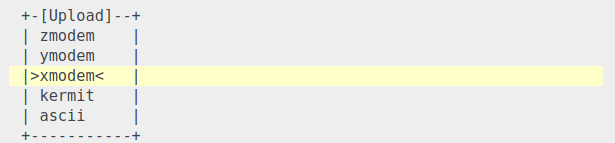
Use CTRL+A S to enter file sending menu and select xmodem by pressing Enter.
In the next window, with the space bar select the proximity_sensor_pgm.bin file to be transferred, by pressing Enter, the transfer process starts.
Wait until the process is completed. The screen should display how much data has been transferred.
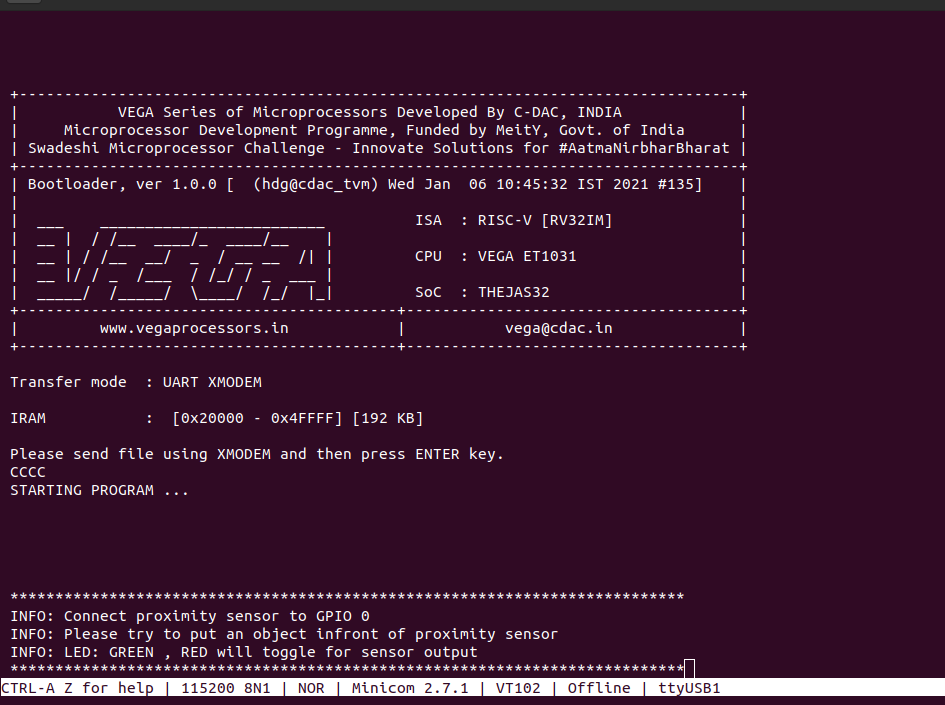
After completing transfer the Program will start to execute.
The output is displayed in minicom UART terminal:
For additional informations :
http://www.dmf.unisalento.it/~denunzio/allow_listing/ARDUINO/FC51.pdf