In this tutorial we will see ,how we can interface nRF24L01 RF Module with Aries v2.0 Board.
nRF24L01 Wireless RF Module
The nRF24L01 is a wireless transceiver module, meaning each module can both send as well as receive data simultaneously. It has a RFX2401C chip which includes PA (Power Amplifier) and LNA (Low-Noise Amplifier). This amplifies the nRF24L01 signal and enables even better transmission.
They operate in the frequency of 2.4GHz, which falls under the ISM band & can operate with baud rates from 250 kbps up to 2 Mbps.The power consumption of this module is just around 12mA during transmission, which is even lower than a single LED. The operating voltage of the module is from 1.9 to 3.6V.
The modules when operated efficiently can cover a distance of 100 meters (200 feet) which makes it a great choice for all wireless remote controlled projects.

Circuit Diagram:

Connections:
| nRF24L01 | ARIES V2 board |
| VCC | +3.3V |
| CSN | SS0 |
| MOSI | MOSI0 |
| CE | GPIO0 |
| SCK | SCLK0 |
| MISO | MISO0 |
| GND | GND |
Now, for powering up the ARIES v2 board via USB port of a Laptop/Desktop/PC and burning the code into the ARIES v2 board, we have to use a micro USB type B to USB type A cable. The cable should be connected to UART0 port of the ARIES v2.0 board, and the Laptop/Desktop/PC should be preinstalled with VEGA SDK and Toolchain.
Procedure:
In this demo,we have to use two Aries boards for connecting two nRF24L01 modules. After setting up the toolchain and SDK path environments are ready, build the example program for the nRF24L01 module i.e. for both receiver programme and transmitter programme simultaneously by:
Receiver Programme-> cd vega-sdk/examples/spi/nrf24l01_radio_rx_demo &

Transmit Programme-> cd vega-sdk/examples/spi/nrf24l01_radio_tx_demo
clean command to clean the executable :
make cleanthen use make command to build it.
makeNow, we can transfer the built program to the board, before transfer please ensure that you have connected the board UART connector to the PC.
Open a new terminal and execute the following command.
sudo minicom ariesNow you can see the minicom terminal opened and the board uart terminal is ready.
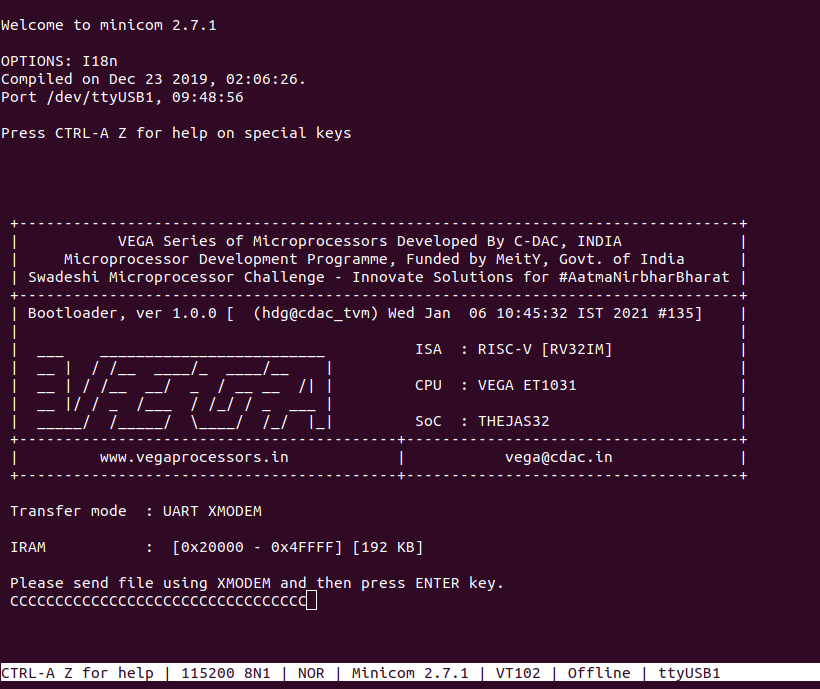
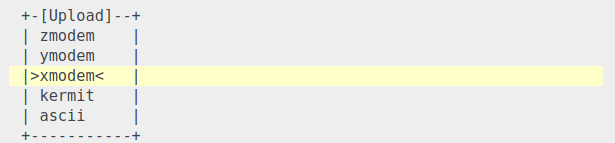
Press CTRL+A S to enter the file sending menu and select xmodem by pressing Enter.
In the next window,with the space bar select the nrf24l01_radio_rx_demo.bin on one system and nrf24l01_radio_tx_demo.bin on another system file to be transferred simultaneously ,by pressing Enter the transfer process starts.
Wait until the process is completed.The Screen should display how much data has been transferred,After Completing the transfer the program will start to execute.
Output:
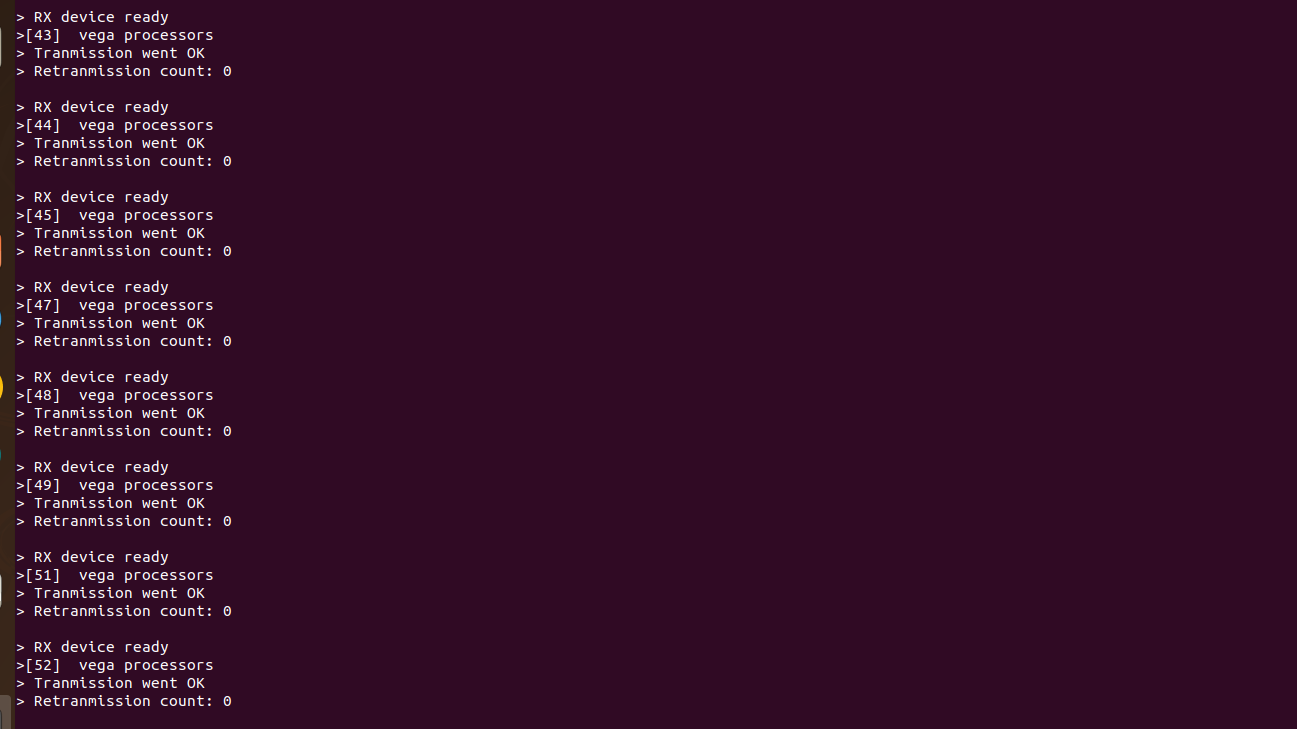
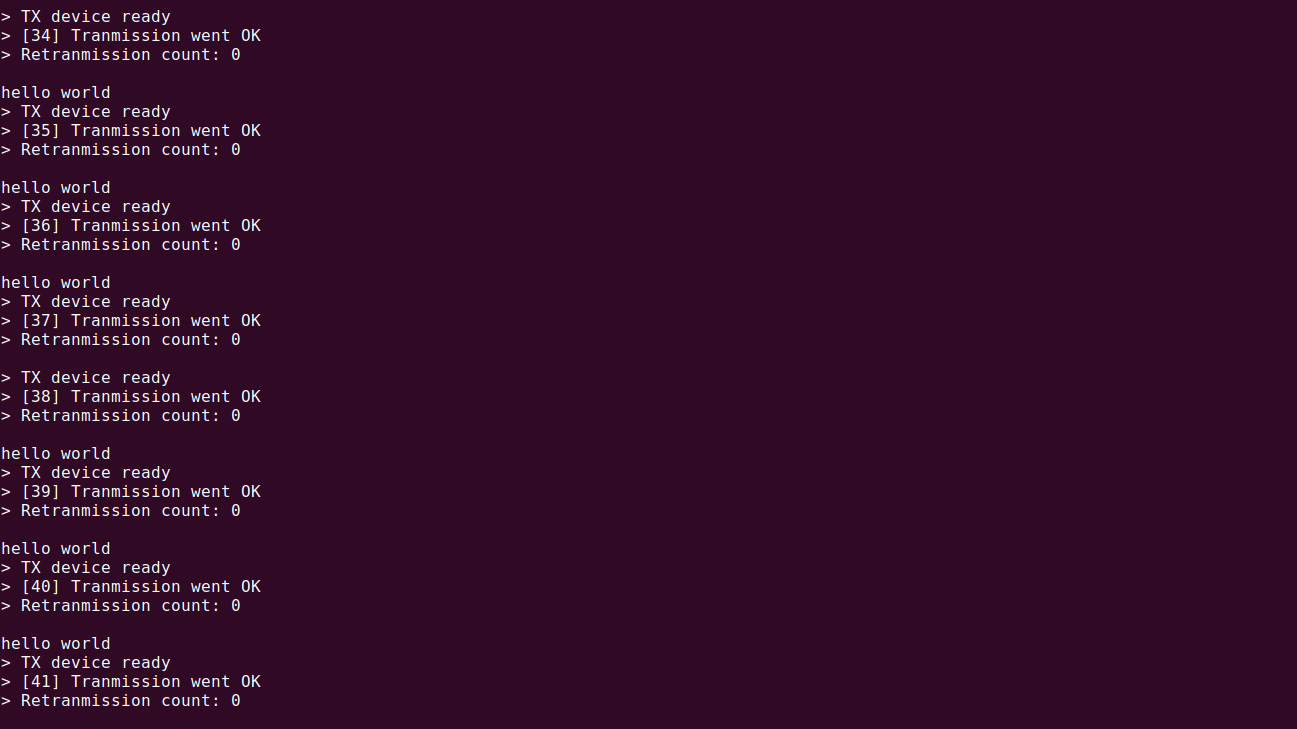
As we know it is transceiver module, both modules transmit and receive data simultaneously.
In our case both modules transmit and receive strings as shown below.