In this tutorial, we will see how we can interface the sound detection sensor with the Aries v2.0 Board.
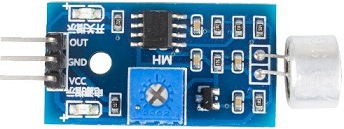
LM393 Sound Detetion Sensor
Sound detection sensor module detects the intensity of sound where sound is detected via microphone and fed into an LM393 op-amp.It has a built in capacitively electret microphone that is sensitive to sound. The electret microphone vibrates with the acoustic wave resulting in the change of capacitance and the subsequent micro voltage,then the micro voltage is sent to LM393 comparator on the module before being compared with the threshold set by the blue potentiometer.
When the sound intensity in the surroundings doesn’t reach the threshold, OUT interface outputs high level signals; otherwise, outputs low level signals.It has main features like adjustable sensitivity (you can use the blue potentiometer shown in the picture); and having working Voltage- 3.3V~5V.
Circuit Diagram:
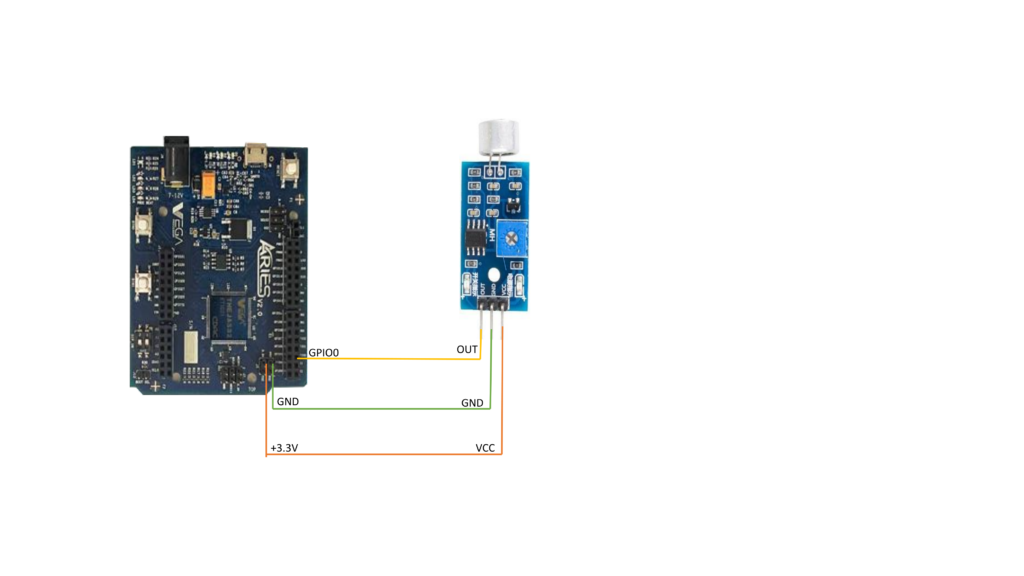
Connections:
| Sound Detection Module | ARIES V2 board |
| VCC | +3.3V |
| OUT | GPIO0 |
| GND | GND |
Now, for powering up the ARIES v2 board via the USB port of a Laptop/Desktop/PC and burning the code into the ARIES v2 board, we have to use a micro USB type B to USB type A cable. The cable should be connected to the UART0 port of the ARIES v2 board, and the Laptop/Desktop/PC should be preinstalled with VEGA SDK and Toolchain.
Procedure:
After setting up the toolchain and SDK path environments, clean the executable using make clean command.
cd examples/gpio/sound_detection_sensor/make cleanBuild the example program sound_detection_sensor by using make command
make Before transferring the built program to the board, ensure that you have connected the UART0 connector of the board to the PC.
Open a new terminal, execute the following command
sudo minicom ariesNow you can see the minicom terminal opened and the board UART terminal is ready.
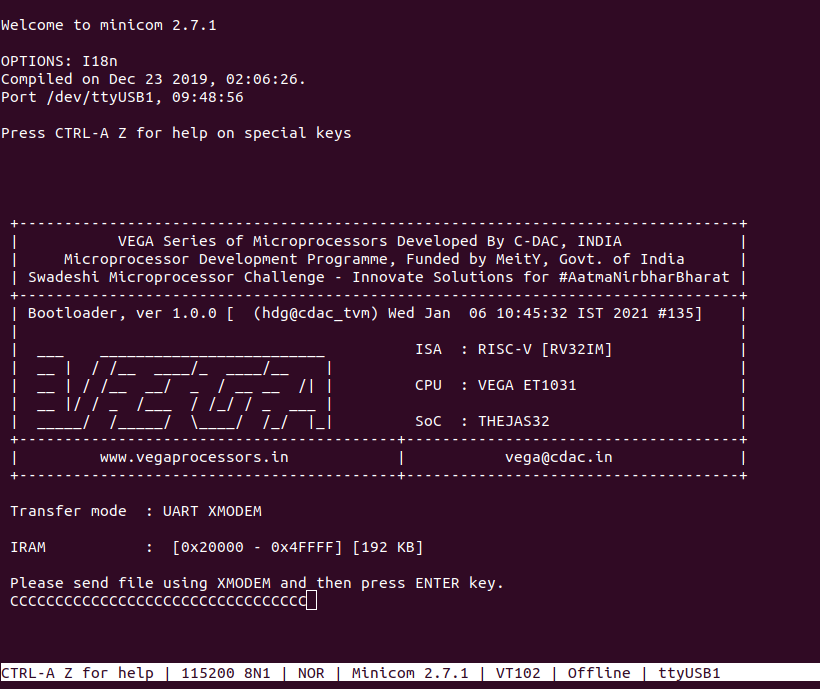
Press Reset Button to set the Aries Board.
Press CTRL+A and then press S to enter the file sending menu and select xmodem by pressing Enter as follows:
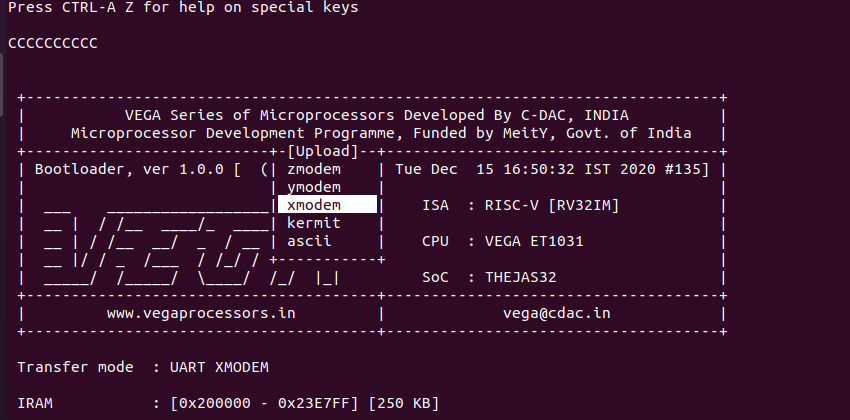
In the next window, with the space bar select the sound_detection_pgm.bin file to be transferred, by pressing Enter, the transfer process starts.
Wait until the process is completed. The screen should display how much data has been transferred.
After completing the transfer the Program will start to execute.
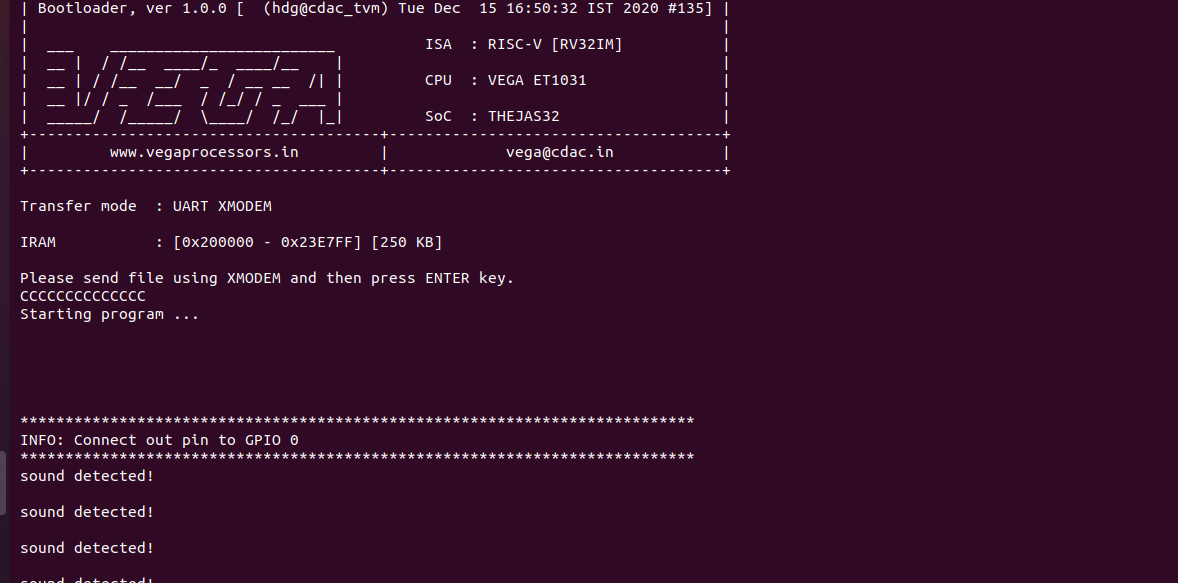
Output:
The output is displayed on the minicom UART terminal: