Overview
This guide will provide you with a step by step walk-through of running a software on VEGA based development boards.
Prerequisites
Hardware
Software
Setup VEGA Ecosystem
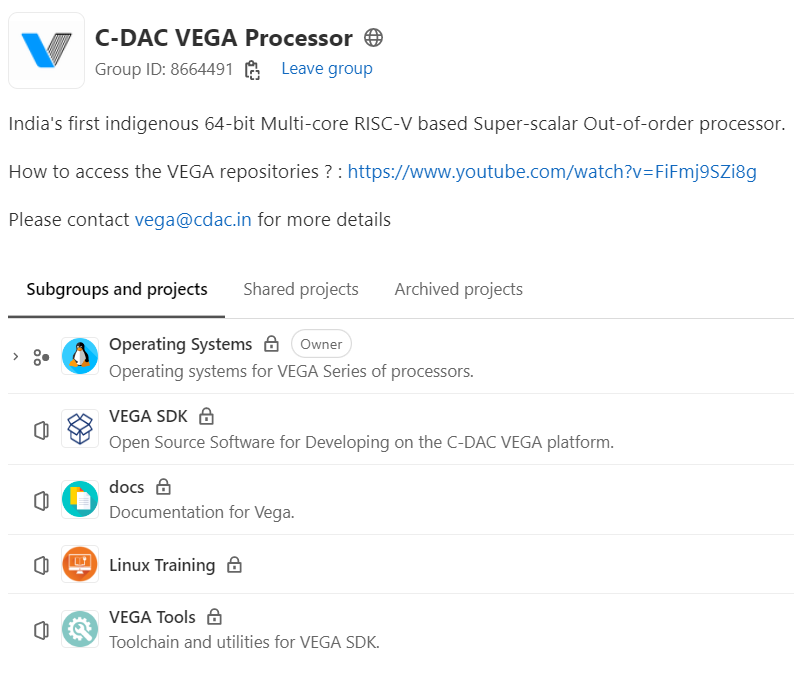
Gitlab Access
Create a new account/Login in gitlab.com, Sent a “Request Access” in VEGA repository[ https://gitlab.com/cdac-vega ] to access and install VEGA SDK & Tools. Please view the below video to know more about the gitlab access and account creation.
Clone SDK & Tools
Once your gitlab access is granted, you can see repositories listed in CDAC-VEGA gitlab page
Now, download the VEGA SDK by using git and clone its repository using the below command in Ubuntu PC
git clone --recursive https://gitlab.com/cdac-vega/vega-sdk.gitAlso download the VEGA Tools using the below command
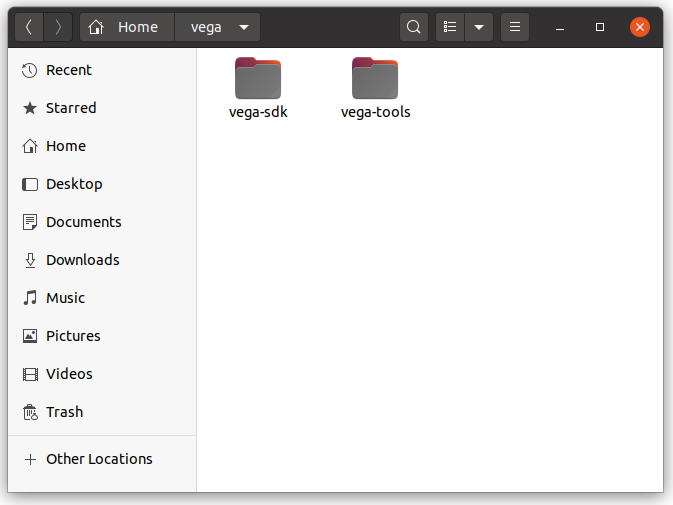
git clone --recursive https://gitlab.com/cdac-vega/vega-tools.gitAfter cloning is completed(this may take some time), you can see “vega-sdk”, “vega-tools” folders in your working directory.
Install SDK & Tools
To install SDK & Tools, first you need to setup the environment file by executing the setup-env.sh in “vega-tools”.
cd vega-tools./setup-env.shAlso to setup the “vega-sdk”, execute the script “setup-thejas32.sh” for THEJAS32 SoC and “setup-thejas64.sh” for THEJAS64 SoC. During the sdk installation all necessary libraries required to build the programs will install automatically.
cd ../vega-sdk

git checkout aries
./setup.sh Now the toolchain and SDK path environments are ready.
Build sample programs
Now you can build all the examples provided in example folder using the following command:
makeYou can clean the builds using the clean command like:
make clean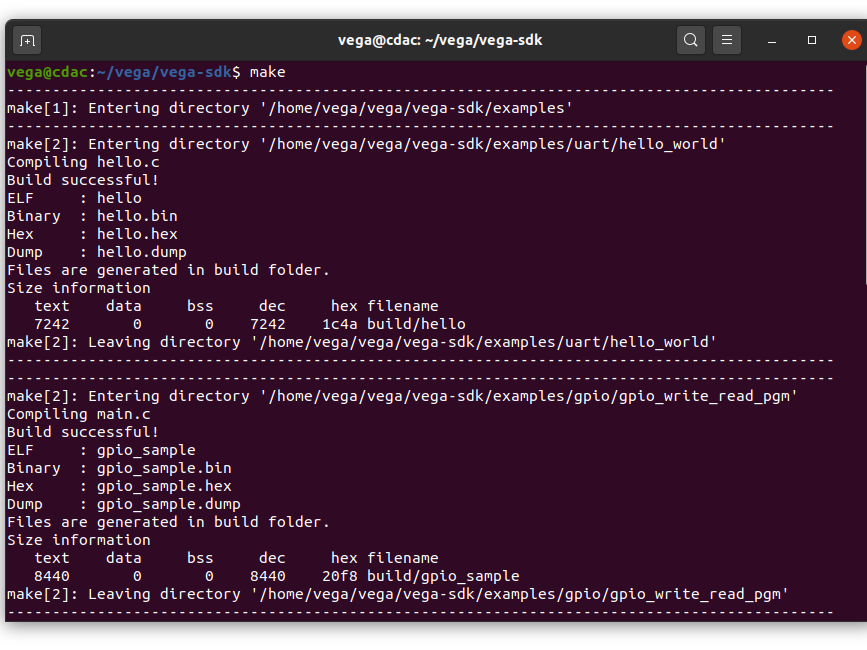
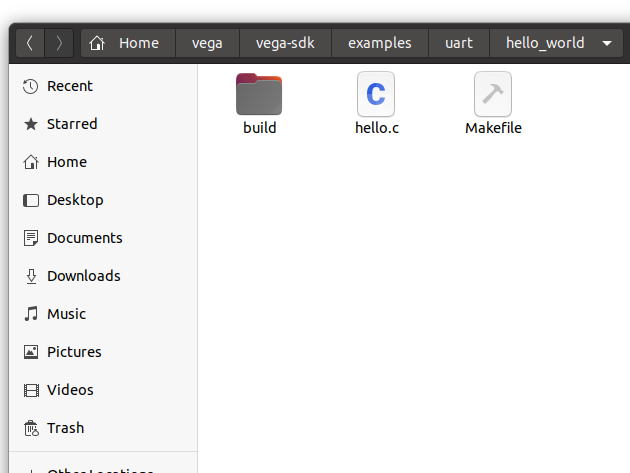
All the examples programs are built and now we can look in to one sample program in examples/uart/hello_world. There, you can see the hello.c and Makefile. The build folder contains the executable file of hello_world program
You can clean the executable using clean command:
cd examples/uart/hello_worldmake cleanYou can build this program alone by using the make command in this folder.
make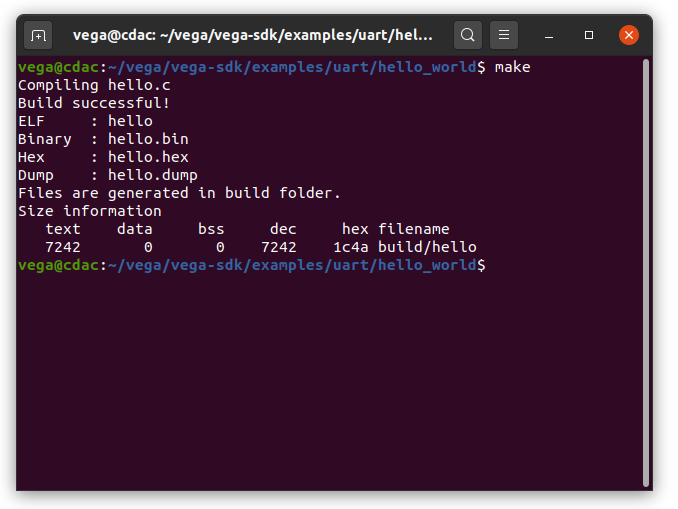
Connect the board to PC
The basic connection of the board can be observed in the image below. As seen in the figure, you have to connect a micro USB to the connector J10. For more details about the board powering up please visit Setting Up The Board

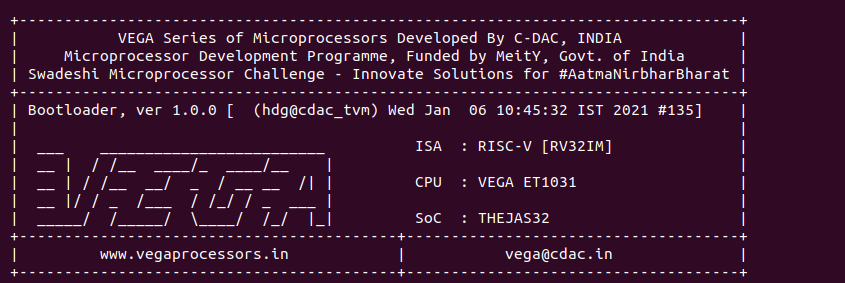
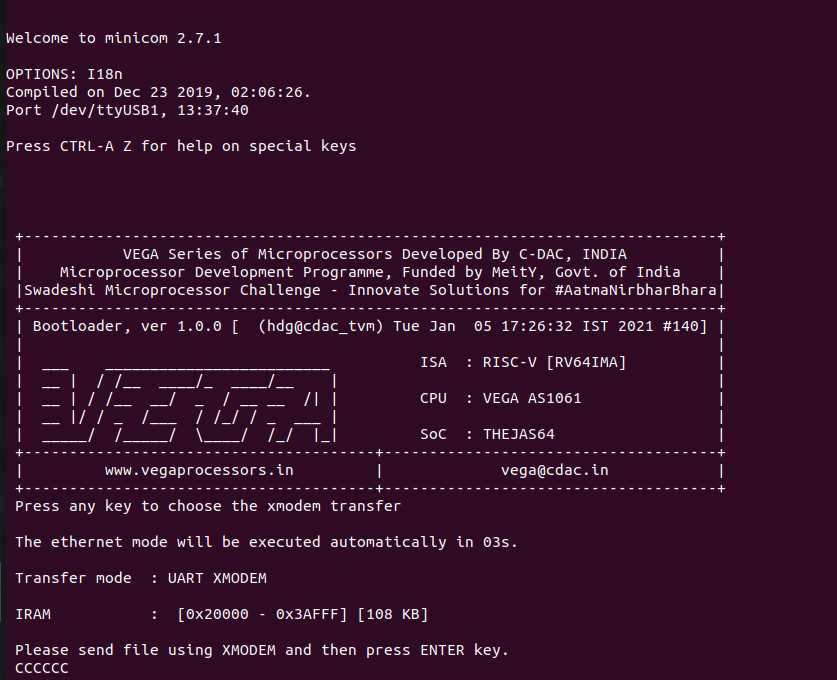
If everything is correct, you can see the bootloader in the minicom using the below command in terminal
sudo minicom ariesNow you can see the minicom terminal opened and the board uart terminal is ready.
Run a program in board
Use CTRL+A S to enter file sending menu and select xmodem by pressing Enter.
+-[Upload]--+
| zmodem    |
| ymodem    |
|>xmodem<   |
| kermit    |
| ascii     |
+-----------+
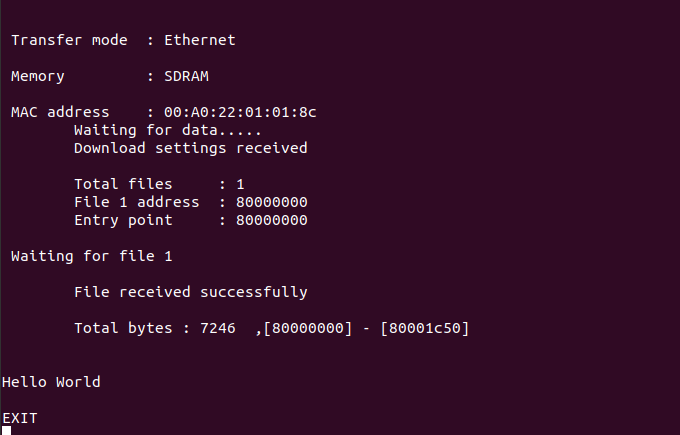
In the next window, with space bar select the .bin file to be transferred, by pressing Enter, transfer process starts.
Wait until the process is completed. The screen should display how much data has been transferred.
After completing transfer the Program will start to execute.
For more details please visit Running Program on Target Board
For more details, Please watch our video tutorial :