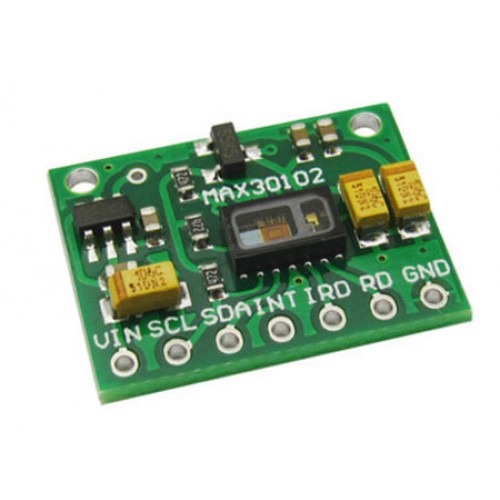
The MAX30102 is integrated pulse oximetry and a heart-rate monitor module. It includes internal LEDs, photodetectors, optical elements, and low-noise electronics with ambient light rejection. The MAX30102 provides a complete system solution to ease the design-in process for mobile and wearable devices.
MAX30102 Pulse Oximeter
The MAX30102 operates on a single 1.8V power supply and a separate +3.3V power supply for the internal LEDs. Communication is through a standard I2C-compatible interface. The module can be shut down through software with zero standby current, allowing the power rails to remain powered at all times. Pulse oximetry monitors the oxygen saturation in blood by measuring the magnitude of reflected red and infrared light. Pulse oximeters can also approximate heart rate by analyzing the time series response of the reflected red and infrared light.
Circuit Diagram
MAX30102 Pulse Oximeter is composed of 4 pins, VCC, GND, and two I2C pins(SCL and SDA). Connect VCC and GND to +3.3V and GND respectively. Then connect SCL of the sensor module to SCL-1 and SDA to SDA-1 of the ARIES v2 Board.
Now, for powering up and programming the code into the ARIES v2 Board, we have to connect a micro USB type B (common data cable, used for mobile charging and data transfer) in the UART0 port of the ARIES v2 Board, to a Laptop/Desktop/PC with preinstalled VEGA SDK and Toolchain.
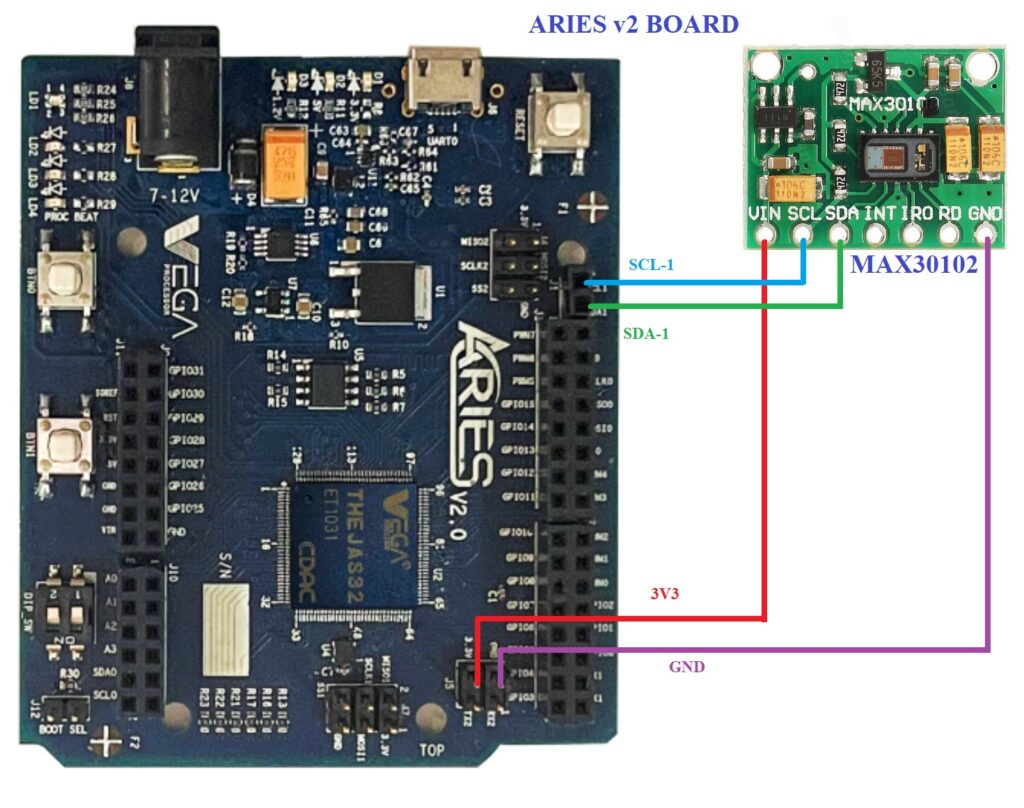
| MAX30102 | ARIES v2 Board |
| VCC | +3V3 |
| GND | GND |
| SCL | SCL-1 |
| SDA | SDA-1 |
Procedure
After setting up the toolchain and SDK path environments, build the example program for the MAX30102 sensor by :
cd vega-sdk/examples/i2c/max30102_sensor_demomake clean command to clean the executable :
make cleanthen use the make command to build it.
makeNow, we can transfer the built program to the board, before transfer please ensure that you have connected the UART0 connector of the board to the PC.
Open a new terminal and execute the following command.
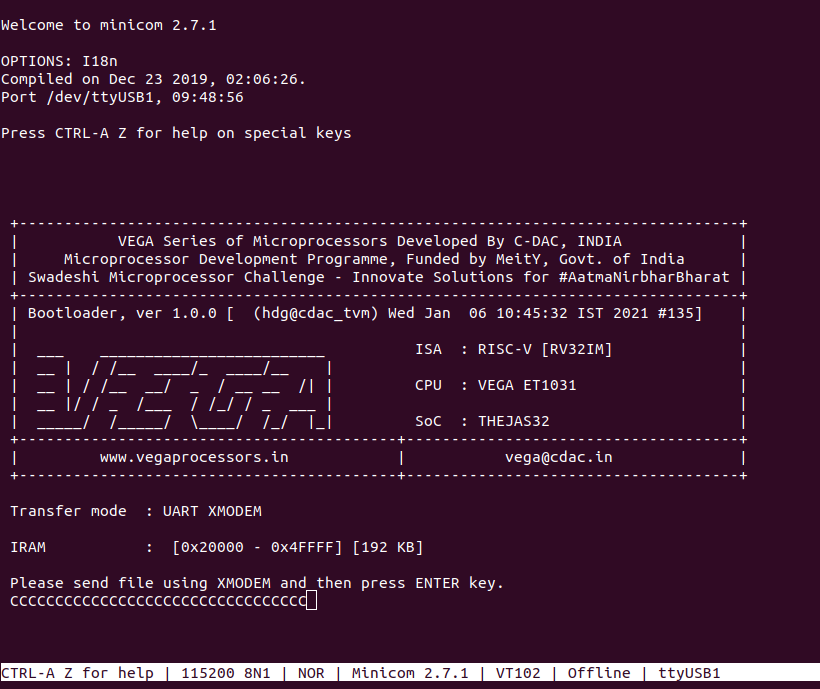
sudo minicom ariesNow you can see the minicom terminal opened and the board UART terminal is ready.
Use CTRL+A S to enter the file sending menu and select xmodem by pressing Enter.
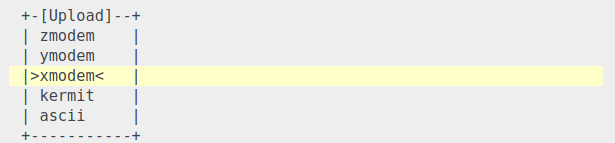
In the next window, with the Space bar, select the max30102_sensor_demo.bin file to be transferred, by pressing Enter, the transfer process starts.
Wait until the process is completed. The screen should display how much data has been transferred.
After completing the transfer, the program will start to execute.
for additional pieces of information:
https://datasheets.maximintegrated.com/en/ds/MAX30102.pdf