In this tutorial we will see how we can use in-built Push Buttons on the ARIES v2.0 board. The ARIES IoT board also has these push buttons which can be use in same way.
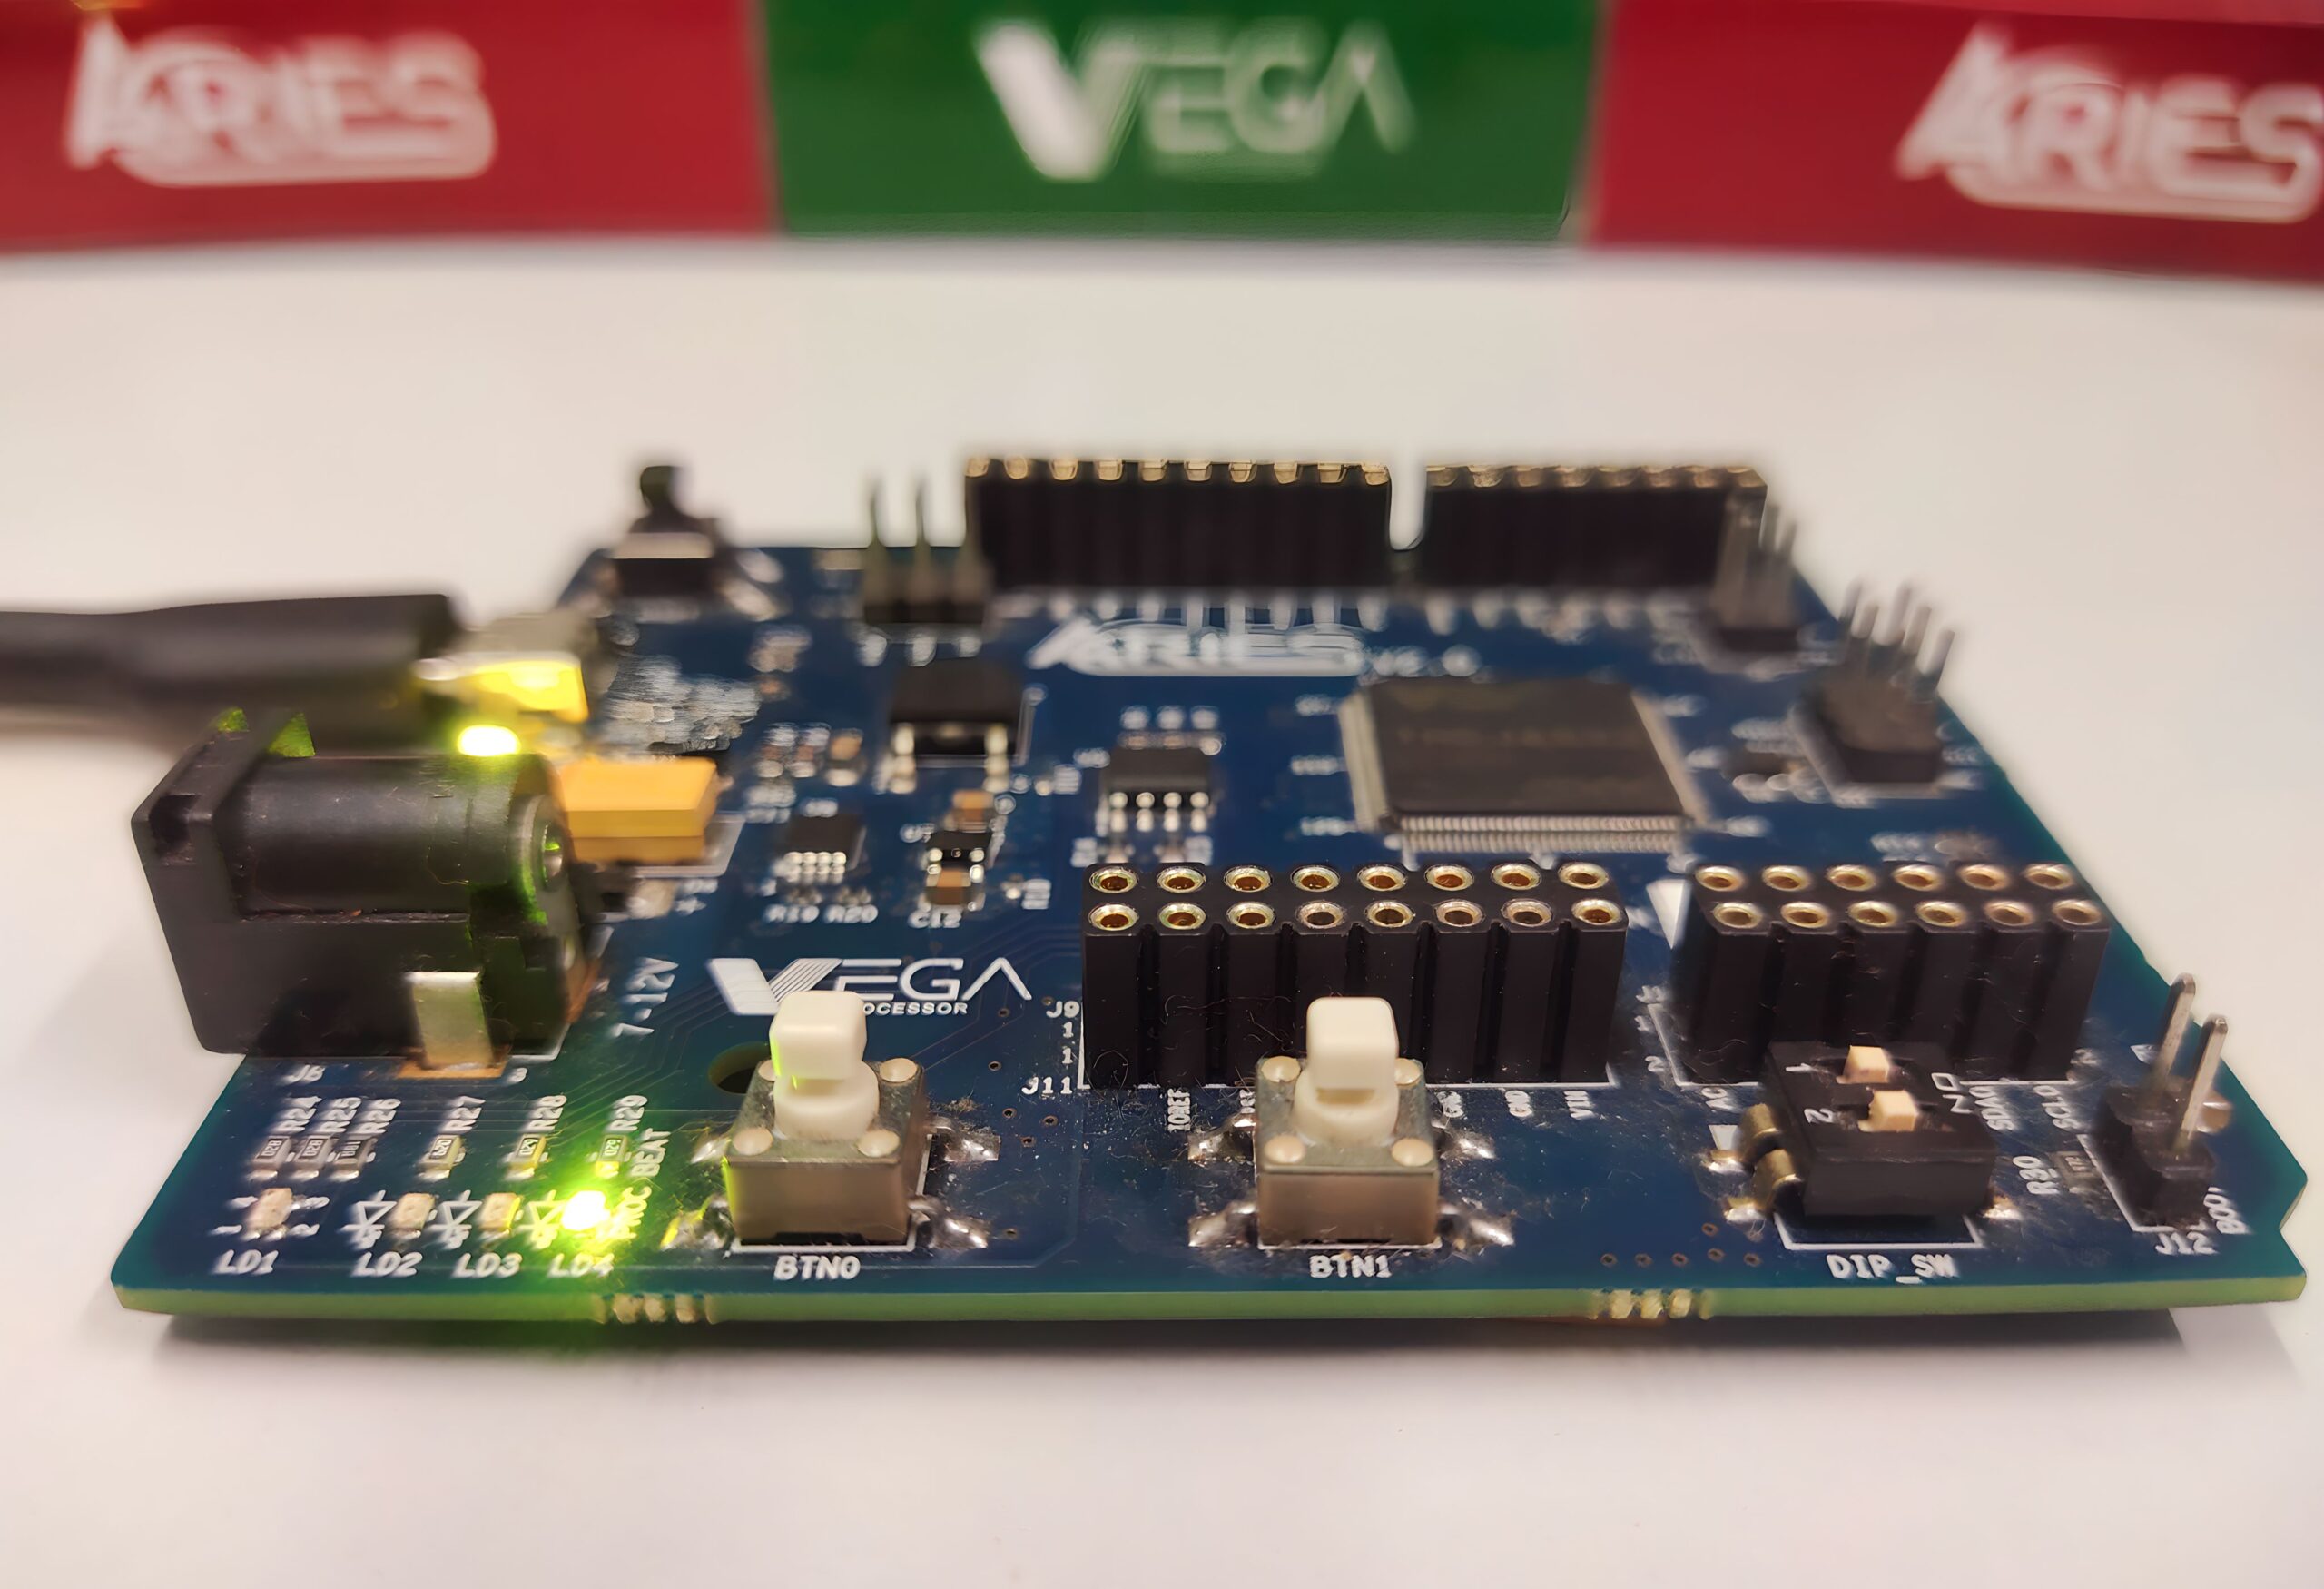
ARIES v2.0
The ARIES v2.0 is a fully indigenous and a “Made in India” product to get started with basic microprocessor programming and embedded systems. This board is built upon a RISC-V ISA compliant VEGA Processor with easy-to-use hardware and software. For more details about ARIES v2.0 boards please refer to the ARIES development boards and Ecosystem.

Push Button
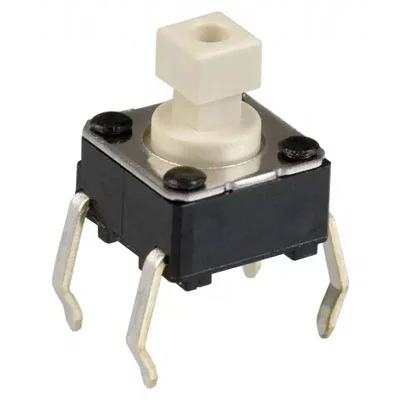
Push Buttons are normally-open tactile switches. Push buttons allow us to power the circuit or make any particular connection only when we press the button. Simply, it makes the circuit connected when pressed and breaks when released.
Prerequisites
- Windows 10 or above/Linux (64 bit)
- Arduino IDE
- VEGA ARIES Board support package
Components Required
- ARIES v2.0 Board
- Micro USB type B to USB type A cable
Procedure
Let’s power up the ARIES v2 board via the USB port of a Laptop/Desktop/PC and burning the code into the ARIES v2 board, we have to use a micro-USB type B to USB type A cable. The cable should be connected to UART-0 port of the ARIES v2 board, and the Laptop/Desktop/PC should be preinstalled with Arduino IDE and VEGA ARIES boards of latest version.
- Now, open the Arduino IDE
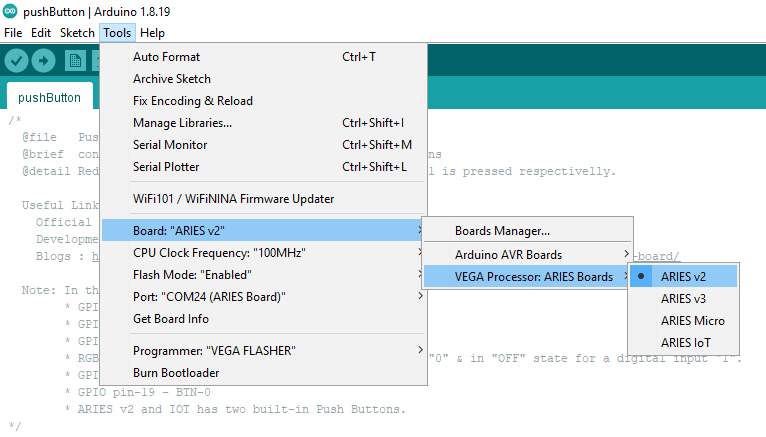
- Make sure you have selected ARIES v2 Board from Tools -> Board -> VEGA Processor: ARIES Boards -> ARIES v2
- Enable flash mode from Tools -> Flash Mode -> Enabled
- Select Programmer as VEGA FLASHER from Tools -> Programmer -> VEGA FLASHER
- Also select appropriate port, Tools -> Port -> COM* (ARIES Board)
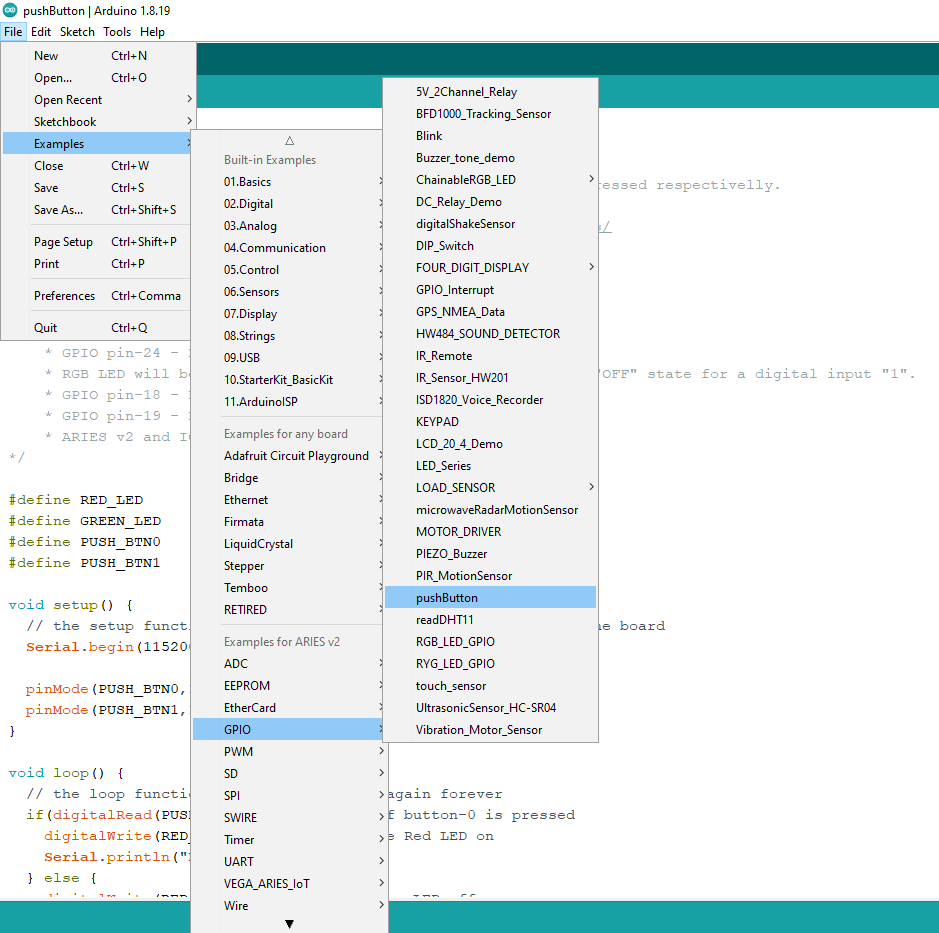
- Now, Open Files -> Examples -> Under Examples for ARIES v2 -> GPIO -> pushButton
- Finally Upload the code in ARIES v2 board.
Output
Once the code is uploaded, Press button-0 and we’ll see Red LED on the board will turn on. When you release the button-0 Red LED will turn off. Similarly pressing button-1 will turn Green LED on.
