Now we are going to learn how we can interface the ESP8266 WiFi Module with ARIES v2 Board. The ESP8266 is a low-cost Wi-Fi microchip, with a full TCP/IP stack and microcontroller capability. This small module allows microcontrollers to connect to a Wi-Fi network and make simple TCP/IP connections using Hayes-style commands.
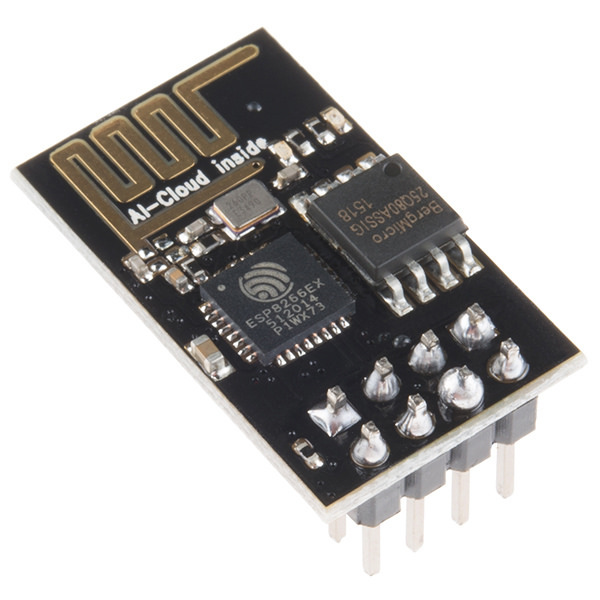
ESP8266 WiFi Module
ESP8266 is a highly integrated chip designed for the needs of a new connected world. It offers a complete and self-contained Wi-Fi networking solution allowing it to either host the application or to offload all Wi-Fi networking functions from another application processor. ESP8266 has powerful on-board processing and storage capabilities that allow it to be integrated with the sensors and other application-specific devices through its GPIOs with minimal development up-front and minimal loading during runtime.
Its high degree of on-chip integration allows for minimal external circuitry. It is designed to occupy a minimal PCB area.
Circuit Diagram
ESP8266 Module communicates with the ARIES v2 Board via the UART Protocol. Connect VCC and GND to +3.3V and GND respectively. Connect RX to UART1-TX and TX to UART1-RX pins.
Now, for powering up and programming the code into the ARIES v2 Board, we have to connect a micro USB type B (common data cable, used for mobile charging and data transfer) in the UART0 port of the ARIES v2 Board, to a Laptop/Desktop/PC with preinstalled VEGA SDK and Toolchain.
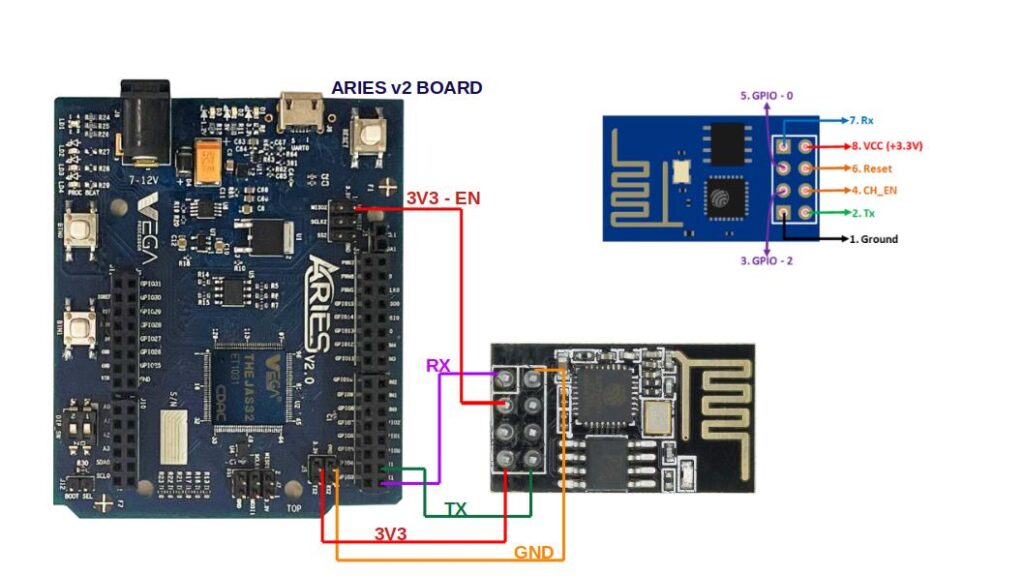
| ESP8266 WiFi Module | ARIES v2 Board |
| VCC | +3V3 |
| GND | GND |
| RXD | UART1-TX |
| TXD | UART1-RX |
| EN | +3V3 |
Procedure
After setting up the toolchain and SDK path environments, build the example program for the ESP8266 Module by :
cd vega-sdk/examples/uart/wifi_demomake clean command to clean the executable :
make cleanthen use make command to build it.
makeNow, we can transfer the built program to the board, before transfer please ensure that you have connected UART0 connector of the board to the PC.
Open a new terminal and execute the following command.
sudo minicom ariesNow you can see the minicom terminal opened and the board uart terminal is ready.
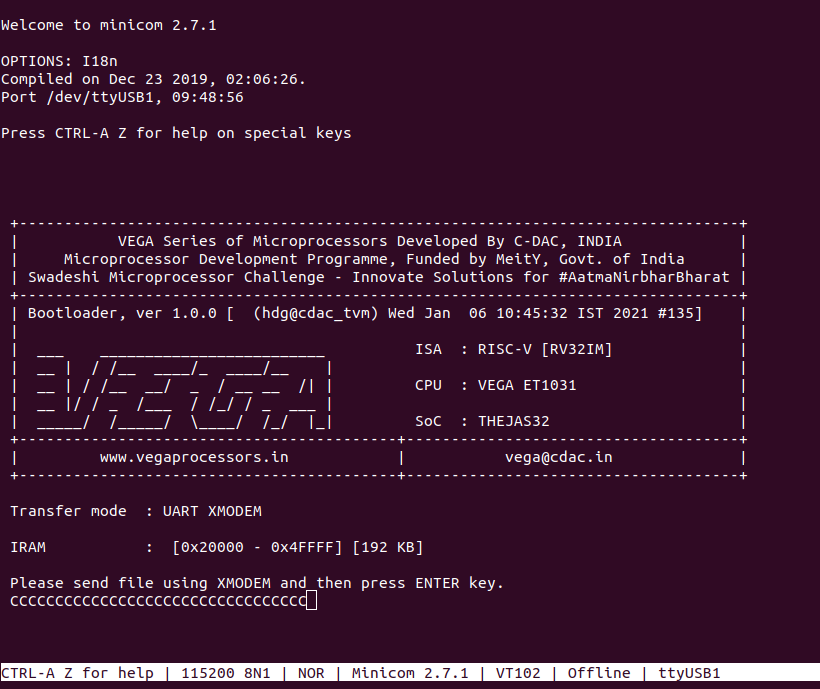
Use CTRL+A S to enter file sending menu and select xmodem by pressing Enter.
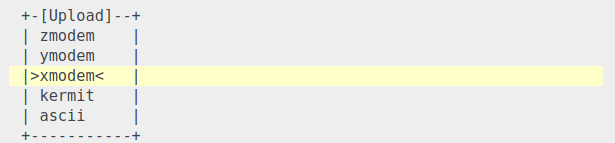
In the next window, with the Space bar select the wifi_demo.bin file to be transferred, by pressing Enter, the transfer process starts.
Wait until the process is completed. The screen should display how much data has been transferred.
After completing transfer the Program will start to execute.
The output is displayed in minicom UART terminal:
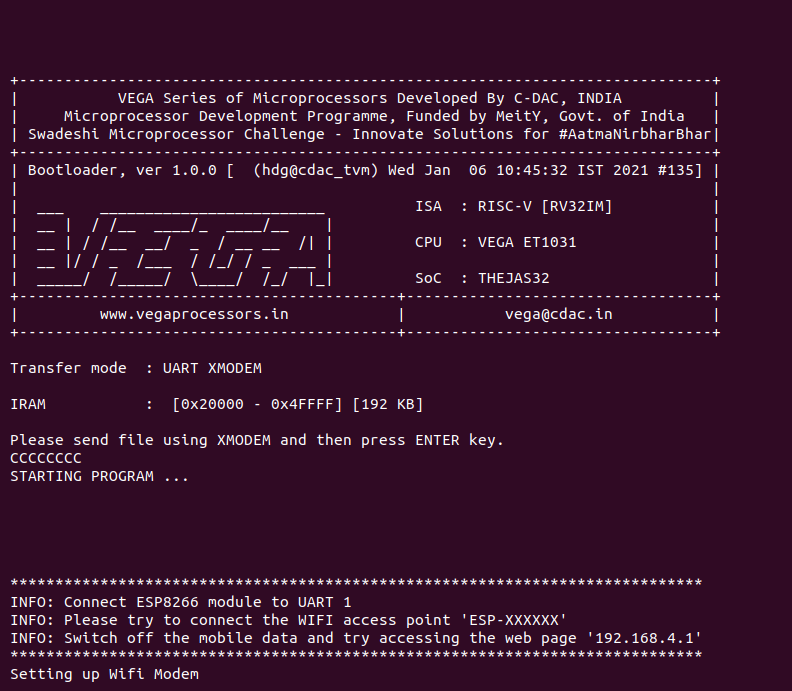
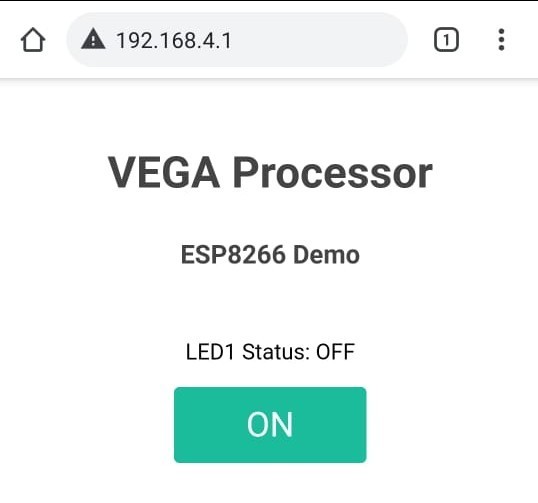
Connect to the Wifi network and then try accessing the webpage 192.168.4.1
Try to toggle LED by ON/OFF switch
For additional information :
https://cdn-shop.adafruit.com/product-files/2471/0A-ESP8266__Datasheet__EN_v4.3.pdf