In this tutorial, we will see how we can interface DHT11 Temperature Humidity Sensor with ARIES V2 board. Temperature humidity sensors are environmental sensors which measures temperature and humidity instantaneously. It is commonly used in industrial applications where temperature and humidity of environment affects the quality of the product. It is used in heating, ventilation and air conditioning systems and also by weather stations to predict weather conditions.
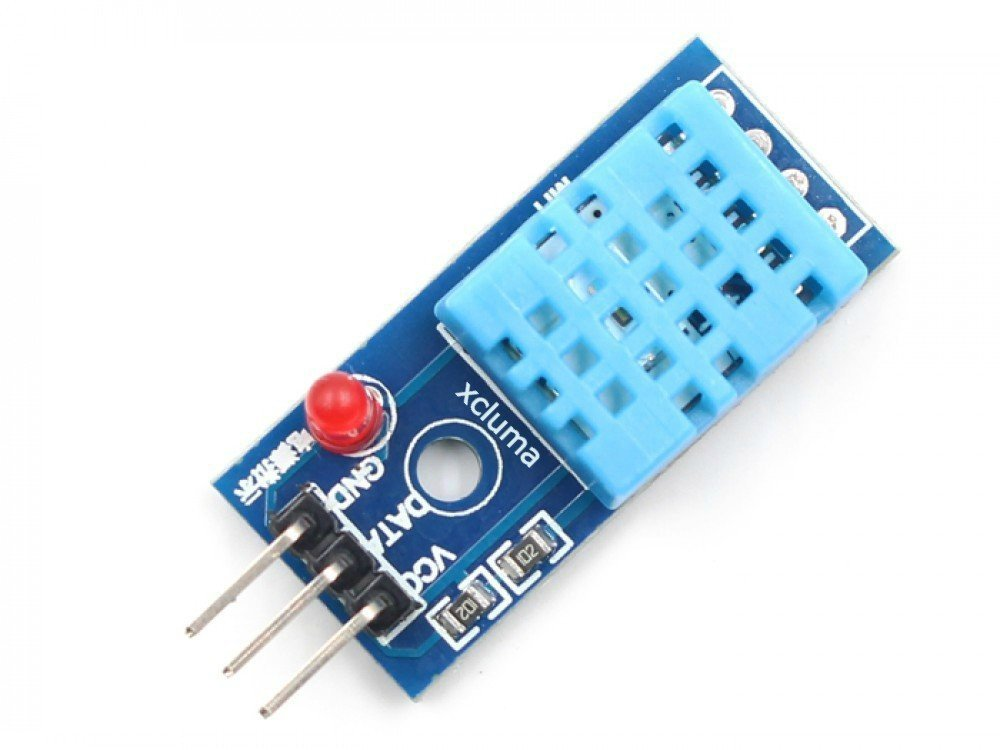
DHT11 Temperature Humidity Sensor
DHT11 is a compact low cost sensor which senses temperature and relative humidity by using an in-built thermistor and capacitive humidity sensor. The humidity sensing capacitor has two electrodes with a moisture holding substrate as dielectric in between them. Whenever there is change in humidity value, capacitance changes and this change is processed to digital form. To measure temperature, the sensor uses Negative temperature coefficient thermistor, which decreases its resistance value with increase in temperature.
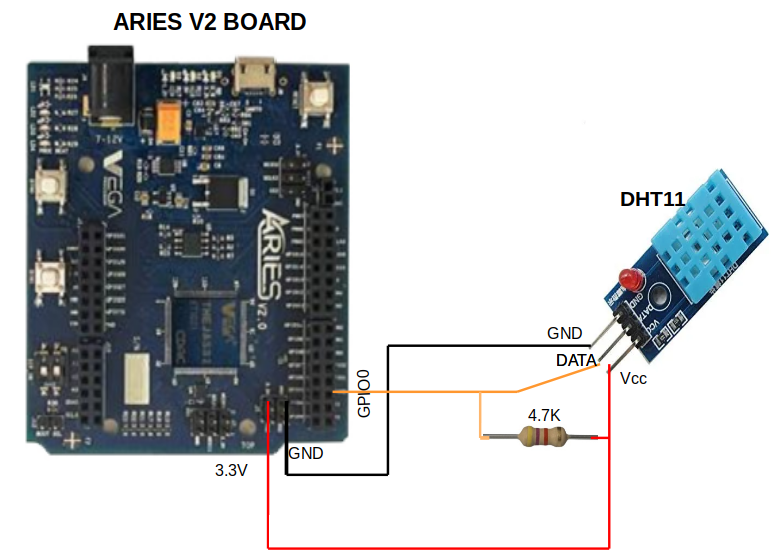
Circuit Diagram
The DHT11 has three pins: Vcc, Data and GND. Connect Vcc and GND to +3.3V and GND respectively of ARIES V2 board. Pull up the Data pin of DHT11 sensor to Vcc using a 4.7K resistor. Then connect the Data pin to GPIO0 of ARIES V2 board. Value of pull up resistor depends on the length of connecting cable. (Refer DHT11 sensor datasheet)
Now, for powering up the ARIES v2 board via USB port of a Laptop/Desktop/PC and burning the code into the ARIES v2 board, we have to use a micro USB type B to USB type A cable. The cable should be connected to UART0 port of the ARIES v2 board, and the Laptop/Desktop/PC should be pre-installed with VEGA SDK and Toolchain.
| DHT11 | ARIES V2 board |
| VCC | 3.3V |
| DATA | GPIO0* |
| GND | GND |
*connect pull up resistor across Data Pin of the DHT11 and Vcc of the DHT11 sensor and then connect to the GPIO0 of ARIES V2 board as shown below.
Procedure
After setting up the toolchain and SDK path environments, clean the executable using make clean command.
cd vega-sdk/examples/gpio/DHT11_temperature_humidity_sensor
make clean
Build the example program for DHT11 temperature humidity sensor by using make command
make Before transferring the built program to board, ensure that you have connected the UART0 connector of the board to the PC.
Open a new terminal, execute the following command
sudo minicom ariesNow you can see the minicom terminal opened and the board UART terminal is ready.
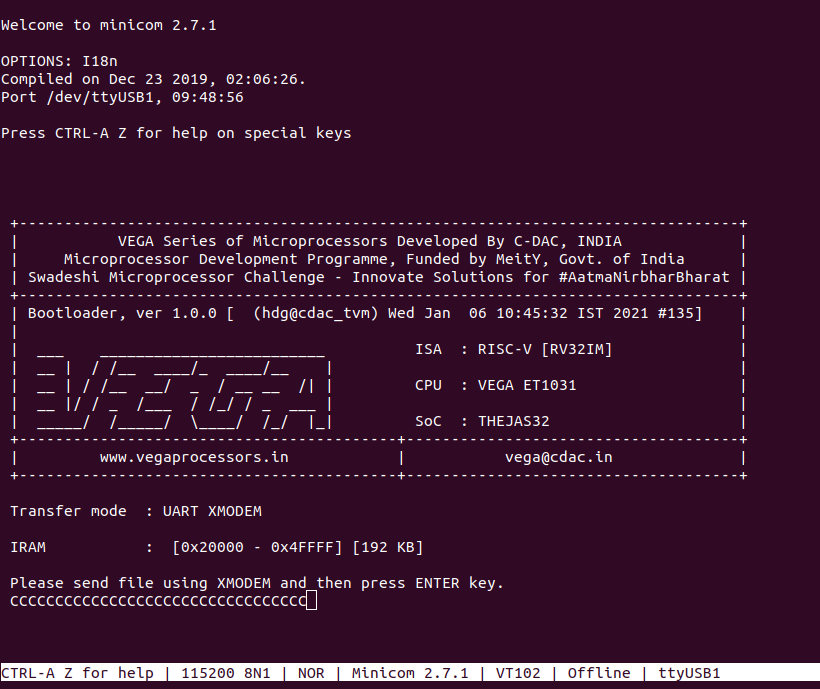
Use CTRL+A S to enter file sending menu and select xmodem by pressing Enter.

In the next window, with space bar select the dht11_temperature_humidity_sensor.bin file to be transferred, by pressing Enter, transfer process starts.
Wait until the process is completed. The screen should display how much data has been transferred.
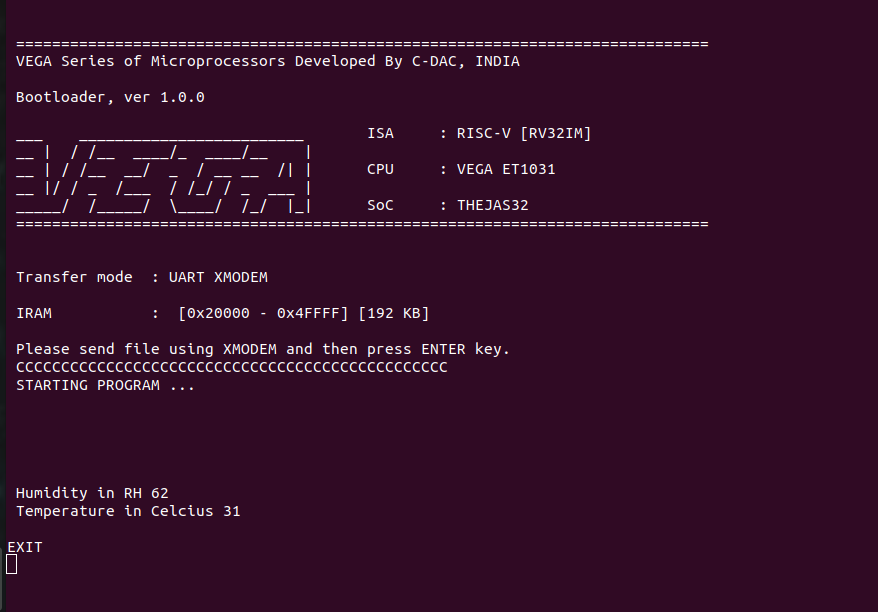
After completing transfer the Program will start to execute.
Present Temperature and humidity of the environment will be displayed in minicom UART terminal.