This example shows the simplest thing you can do with an ARIES v3.0 board to see physical output: it turn an LED on and off every second.
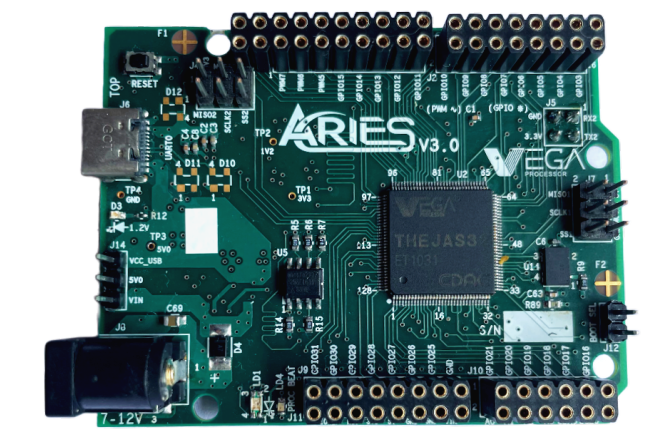
ARIES v3.0
The ARIES v3.0 is a fully indigenous and a “Made in India” product to get started with basic microprocessor programming and embedded systems. This board is built upon a RISC-V ISA compliant VEGA Processor with easy-to-use hardware and software. For more details about ARIES v3.0 boards please refer to the ARIES development boards and Ecosystem.
ARIES LED
LEDs are small, powerful lights that are used in many different applications such as indicator, warning lights, light source etc.This example uses the built-in LED on ARIES v3 board. We can use the constant LED_BUILTIN in Arduino IDE which allows you to control the built-in LED easily. ARIES v3 board has an inbuilt RGB LED.
LED pins for ARIES Board are:
Pin no. 22 – Green LED
Pin no. 23 – Blue LED
Pin no. 24 – Red LED
The RGB LED in ARIES board will be in “ON” state for a digital “0” input and in “OFF” state for a digital “1” input.
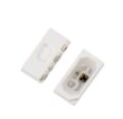
The ARIES v3.0 has SMD LED (Surface Mount Device Light Emitting Diode). It is widely used in various application due to its small size, efficiency, and versatility. SMD LEDs are integrated into a surface-mount package, which allows then to easily mounted onto printed circuit boards (PCBs) or other surface.
Prerequisites
- Windows 10 or above/Linux (64 bit)
- Arduino IDE
- VEGA ARIES Board support package
Components Required
- ARIES v3.0 Board
- USB type C to USB type A cable
Circuit Diagram:
No external connections required to test this code. You can directly connect Aries board through USB and upload the program.

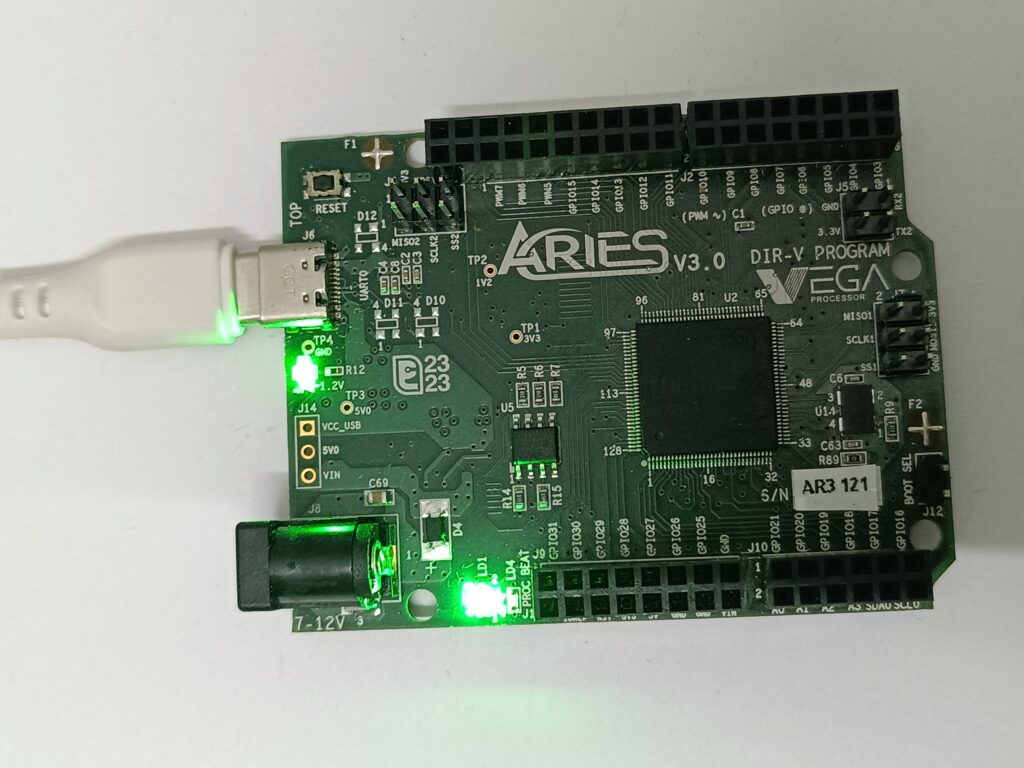
To view the output, let’s power up the ARIES v3 board via the USB port of a Laptop/Desktop/PC and burning the code into the ARIES v3 board, we have to use a USB type C to USB type A cable. The cable should be connected to UART-0 port of the ARIES v3 board, and the Laptop/Desktop/PC should be preinstalled with Arduino IDE and VEGA ARIES boards of latest version.
Procedure
Open and set up the Arduino IDE as described in Getting Started with ARIES v3.0.
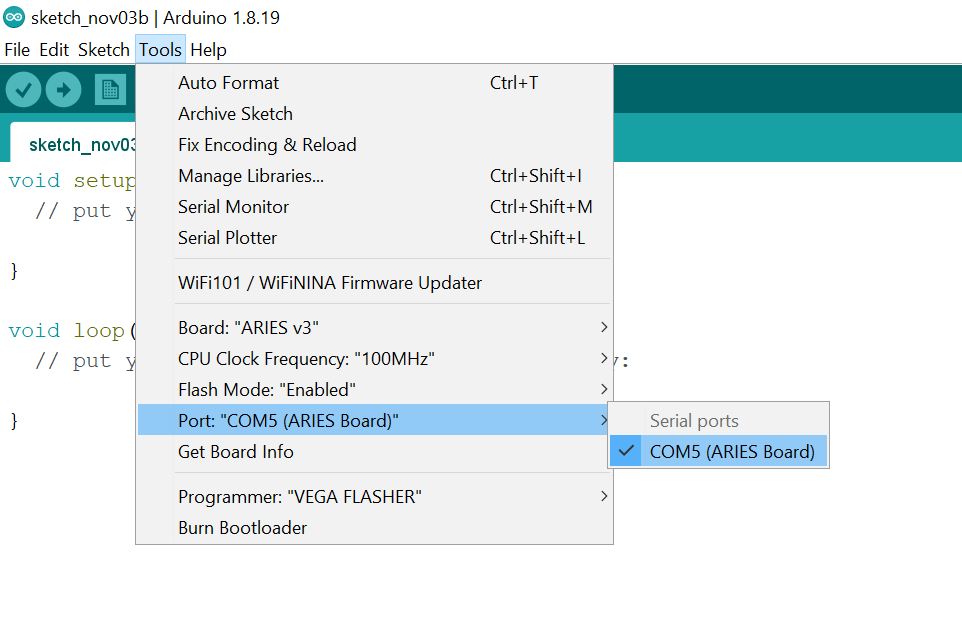
- Make sure you have selected ARIES v3 Board from Tools -> Board -> VEGA Processor: ARIES Boards -> ARIES v3
- Select Tools -> Flash Mode -> Enabled
- Select Programmer as VEGA FLASHER from Tools -> Programmer -> VEGA FLASHER
- Also select appropriate port from Tools -> Port -> COM* (ARIES Board)
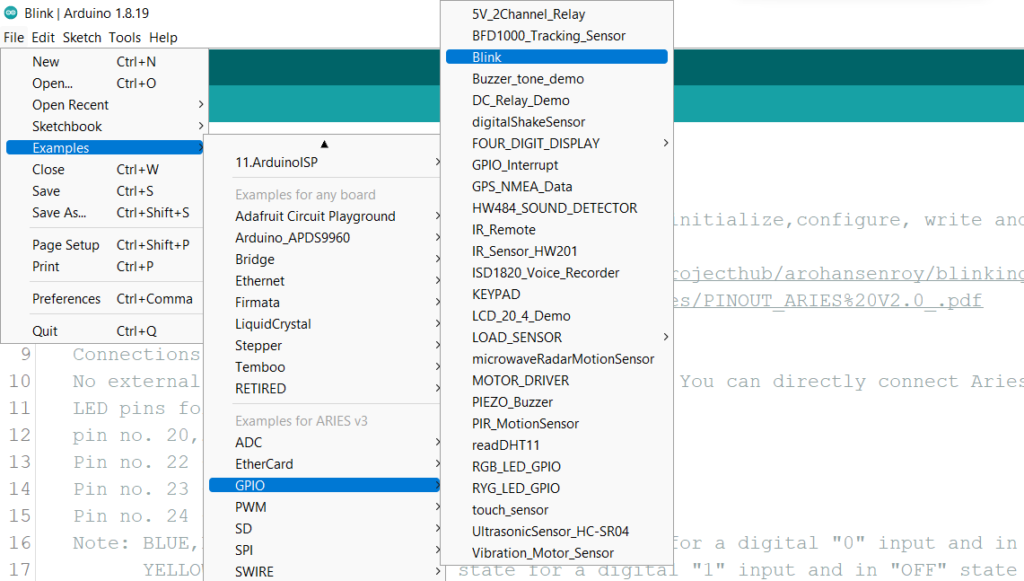
Now, Open Files -> Examples -> Under Examples for ARIES v3 -> GPIO -> Blink
Finally, let’s Upload the code to ARIES v3 Board.
Output
Once the code is uploaded, you can see the internal GREEN LED working as expected by turning ON and OFF on every second